
How to Build a Raised Bed Garden: Complete Guide
Build a raised bed garden with this complete guide covering materials, sizing, soil mix, drainage, plant spacing, and crop rotation for productive growing.
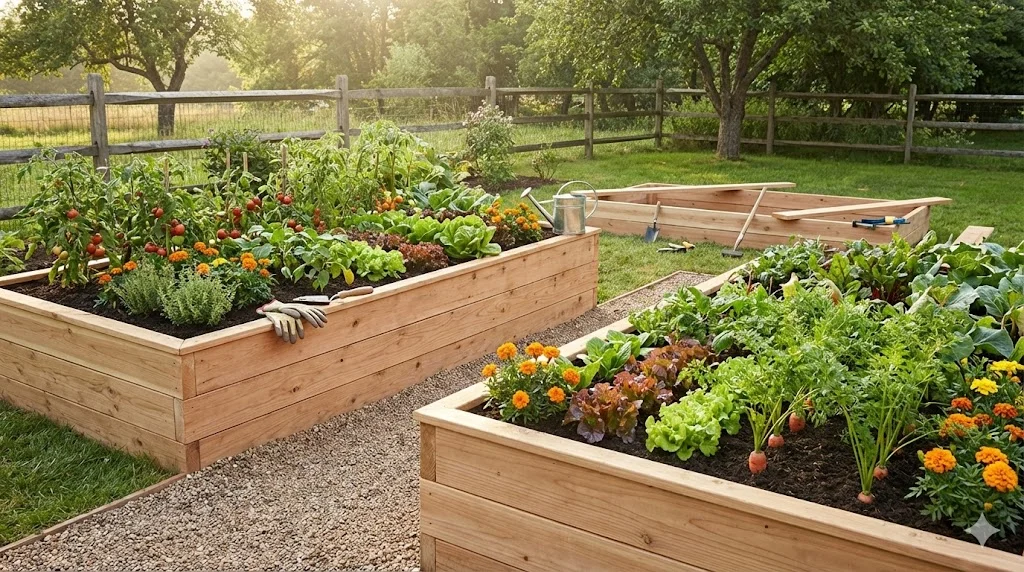
How to Build a Raised Bed Garden: Complete Guide
Raised beds are one of the most satisfying garden projects you can build. They transform any ground -- compacted clay, thin soil, contaminated ground, or even bare paving -- into productive growing space. They look beautiful, they are easier to maintain than ground-level beds, and they allow you to control the soil quality precisely.
Whether you want to grow vegetables, cut flowers, herbs, or ornamental planting, raised beds give you a head start. The soil warms faster in spring, drainage is naturally improved, and the defined edges keep the garden looking orderly. This guide covers everything from choosing materials to filling and planting your beds. For the full garden design process, see our beginner's guide to designing a garden from scratch.
Why Raised Beds Work So Well
Raised beds offer advantages that flat-ground gardening cannot match:
- Better soil: You fill them with the exact soil mix your plants need, regardless of what is underneath
- Better drainage: Excess water drains downward and sideways through the raised soil volume
- Warmer soil: The elevated position and exposure to sun warm the soil earlier in spring, extending the growing season
- Easier access: Working at a raised height reduces bending and kneeling. Beds raised to 60-70 cm (24-28 inches) are comfortable to tend from a seated position, making them ideal for gardeners with mobility issues
- Defined boundaries: The frame keeps soil in, paths clear, and the garden looking organized
- Fewer weeds: Fresh soil mix has fewer weed seeds than existing garden soil, and the defined edges make weeding straightforward
Choosing Materials
Timber
The most popular material for raised beds. Affordable, easy to work with, and naturally attractive.
- Untreated softwood (pine, spruce): The cheapest option. Lasts 3-5 years before rotting. Line the inside with plastic sheeting to extend life.
- Pressure-treated softwood: Treated against rot and insect damage. Lasts 10-15 years. Modern treatments are safe for food growing (check that the treatment is approved for food contact).
- Oak and hardwoods: Beautiful and long-lasting (15-25 years). More expensive but worth it for permanent beds.
- Scaffold boards: Reclaimed scaffold boards are thick (38 mm / 1.5 inches), affordable, and provide a rustic character. They last 5-8 years without treatment.
Metal
Corten (weathering) steel and galvanized steel raised beds have a contemporary, architectural look. They are extremely durable (20+ years), do not rot, and develop an attractive rust patina (corten) or remain sleek and industrial (galvanized). They can be ordered in custom sizes.
Stone and Brick
Permanent and beautiful, stone and brick raised beds suit formal gardens and period properties. They require basic masonry skills to build but last indefinitely. Dry-stone walls have the added benefit of providing habitat for insects and small creatures in the gaps between stones.
Composite and Recycled Plastic
Made from recycled materials, these boards look like timber but do not rot, split, or need treatment. They last 25+ years and are maintenance-free. More expensive initially but the longest-lasting option.
Sizing Your Raised Beds
Width
The most important dimension. You must be able to reach the center of the bed comfortably from the side without stepping on the soil:
- Accessible from one side (against a wall or fence): Maximum 60 cm (2 feet) wide
- Accessible from both sides: Maximum 120 cm (4 feet) wide
- For wheelchair access: 60-90 cm (2-3 feet) wide with clearance for the chair underneath
Length
Any length works, but very long beds (over 3 meters / 10 feet) benefit from a cross-brace in the middle to prevent the sides bowing outward under soil pressure.
Height
- Minimum useful height: 15 cm (6 inches) -- sufficient for salad greens and herbs but limiting for root vegetables
- Standard height: 30 cm (12 inches) -- adequate for most vegetables and flowers
- Deep beds: 45-60 cm (18-24 inches) -- excellent for root vegetables, allows substantial soil depth
- Accessibility height: 60-75 cm (24-30 inches) -- comfortable for tending from a standing position without bending
- Seated working height: 45-60 cm (18-24 inches) -- suitable for wheelchair use or seated gardening
Build your beds as high as your budget allows. Deep beds hold more moisture, support deeper root growth, and are more comfortable to work. The extra timber and soil cost pays for itself in reduced bending and better harvests.
Building a Timber Raised Bed: Step by Step
Materials for a Standard Bed (120 x 240 cm / 4 x 8 feet, 30 cm / 12 inches high)
- 4 boards at 240 cm (8 feet) long, 15 cm (6 inches) wide, 25-38 mm (1-1.5 inches) thick
- 4 boards at 120 cm (4 feet) long (same width and thickness)
- 4 corner posts: 50 x 50 mm (2 x 2 inches), 30 cm (12 inches) long
- Galvanized or stainless steel screws (75 mm / 3 inches)
- Optional: landscape fabric for the base, plastic liner for the inside
Construction
- Prepare the site: Clear the ground of weeds. Level the area if needed. You do not need to remove grass -- it will decompose under the bed.
- Cut all timber to length: Sand any rough edges.
- Assemble the frame: Screw boards to corner posts. Stack two rows of boards for a 30 cm (12 inch) bed. Use a drill to predrill screw holes to prevent splitting.
- Position the frame: Set it on the prepared ground. Check for level with a spirit level and adjust by digging into the high side rather than raising the low side.
- Line the base (optional): Lay landscape fabric or cardboard on the ground inside the frame. This suppresses weeds growing up from below while allowing drainage.
- Line the sides (optional, for untreated timber): Staple heavy-duty plastic liner or pond liner to the inside faces of the boards. This prevents soil contact with timber and extends the bed's life.
Filling Your Raised Bed
The Soil Mix
Do not fill raised beds with garden soil alone -- it is too dense and compacts quickly. Use a purpose-made mix:
Standard vegetable mix:
- 60% topsoil (screened, weed-free)
- 30% compost (well-rotted garden compost or mushroom compost)
- 10% perlite, vermiculite, or coarse sand (for drainage)
For ornamental planting:
- 50% topsoil
- 30% compost
- 20% sharp grit or gravel (improved drainage for plants that dislike wet roots)
Filling Method
- If the bed is deep (over 30 cm / 12 inches), you can fill the bottom third with rough organic material (straw, small branches, wood chips, shredded cardboard). This is sometimes called the Hugelkultur method. It decomposes slowly, improving drainage and slowly releasing nutrients.
- Fill with your soil mix to within 3-5 cm (1-2 inches) of the rim. The gap prevents soil washing over the edges during watering.
- Water thoroughly and allow the soil to settle for a few days before planting. Top up if needed.
Drainage
Raised beds drain naturally by virtue of being elevated. However:
- Do not place a solid base (paving slabs, concrete) under the bed. The bed must drain freely into the ground below.
- On very heavy clay: Consider laying a 5 cm (2 inch) layer of gravel at the bottom of the bed before adding soil mix.
- On sloped ground: Terrace the beds so each is level. The downhill side may need extra height.
Plant Spacing in Raised Beds
Raised beds support closer planting than traditional rows because the soil quality is higher and access is managed from the sides rather than by walking between rows.
Square-foot gardening is a popular approach: divide the bed into 30 cm (1-foot) squares and plant each square with a specific number of plants based on their mature size:
- Tomatoes, peppers, broccoli: 1 per square
- Lettuce, spinach, Swiss chard: 4 per square
- Radishes, carrots, beets: 9-16 per square
- Herbs, chives, spring onions: 16 per square
Crop Rotation
If you grow vegetables, rotate what you plant in each bed from year to year. This prevents soil-borne diseases from building up and balances nutrient demands.
A simple four-year rotation:
- Year 1: Legumes (peas, beans) -- fix nitrogen in the soil
- Year 2: Brassicas (cabbage, broccoli, kale) -- benefit from the nitrogen left by legumes
- Year 3: Roots (carrots, beets, parsnips) -- do not need high nitrogen
- Year 4: Solanaceae and cucurbits (tomatoes, peppers, squash, courgettes)
After year four, return to legumes and repeat. With four raised beds, you can run all four stages simultaneously, rotating each year.
You can plan your raised bed layout within your garden design to find the best position for sun exposure, access, and integration with the rest of your garden.
Maintaining Your Raised Beds
- Annually: Top up with 5-8 cm (2-3 inches) of compost each spring. The soil level drops as organic matter decomposes.
- Seasonally: Add mulch around plants to retain moisture and suppress weeds.
- Every 3-5 years: Check timber for rot and replace boards as needed. Check that the bed is still level and square.
- Never step on the soil: The whole point of raised beds is that the soil stays uncompacted. Always work from the sides.
Getting Started
Start with a single bed positioned in the sunniest part of your garden. Grow what you love to eat -- salad greens, tomatoes, herbs, and strawberries are rewarding and productive in raised beds. Once you experience the ease and productivity of raised bed gardening, you will almost certainly want more.
For guidance on designing your garden around your raised beds, see how to design a flower bed for ornamental approaches or how to plan a low-maintenance garden for an easy-care framework. For the complete garden design process, return to our beginner's guide to designing a garden from scratch.
Garden Design Team
Expert garden designers sharing tips, inspiration, and practical advice for creating beautiful outdoor spaces.
Explore professional garden design
Scapiera is a paid professional garden-design application. See plans for included capabilities and availability.
Join the waitlistRelated articles
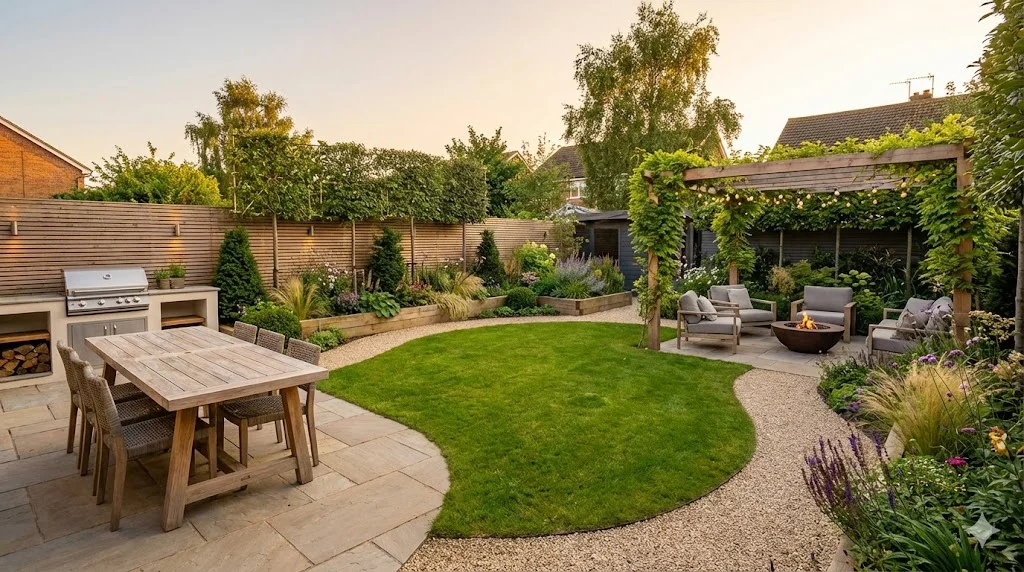
Backyard Garden Design: Creating Your Outdoor Sanctuary
Design a backyard that works as an outdoor living space. Zoning for dining, relaxation, and play, with privacy screening and year-round planting.
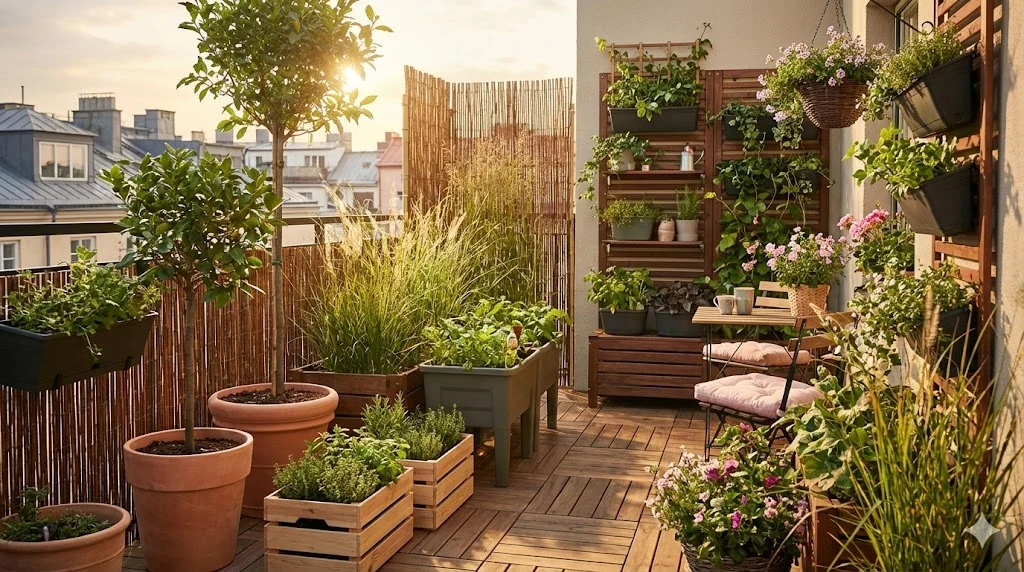
Balcony Garden Design: Growing in Containers
Create a thriving balcony garden with smart container choices, wind-resistant plants, vertical systems, and self-watering solutions for high-rise growing.
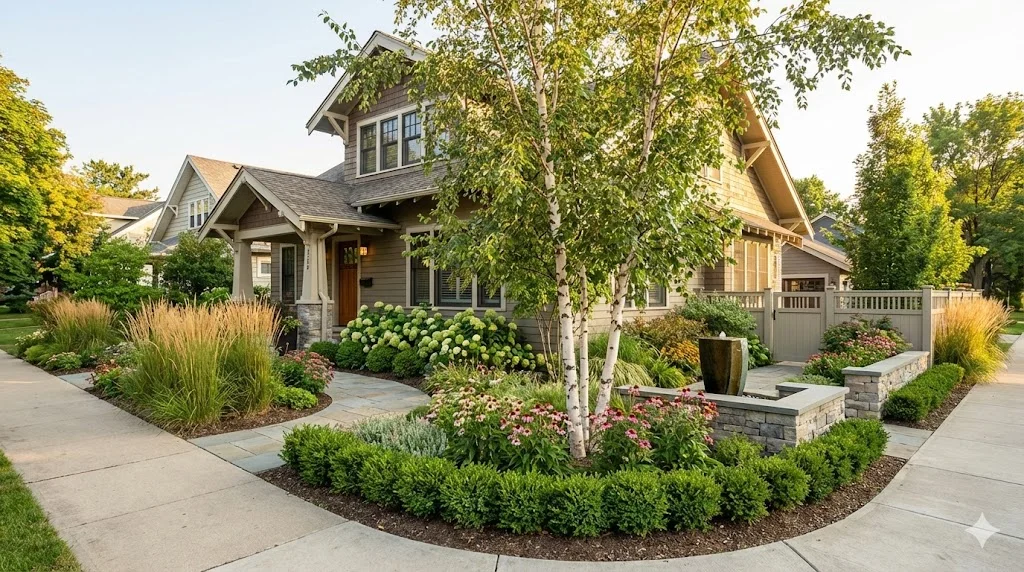
Corner Lot Garden Design: Two-Sided Curb Appeal
Design a corner lot garden that impresses from both streets. Dual frontage planting, visibility sightlines, wraparound beds, and privacy from two directions.