
How to Design a Garden from Scratch: Complete Beginner's Guide
Learn how to design a garden from scratch with this step-by-step beginner's guide covering surveying, planning, planting, and building your dream garden.
How to Design a Garden from Scratch: Complete Beginner's Guide
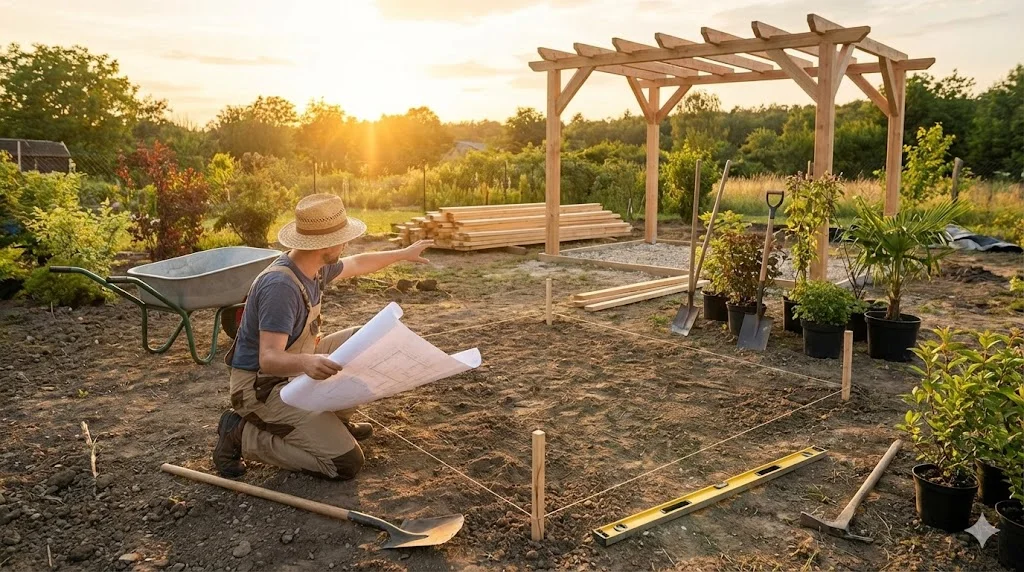
Standing in an empty plot of land or a neglected yard and imagining it as a beautiful garden can feel overwhelming. Where do you start? What comes first -- the plants, the paths, the patio? The truth is that designing a garden from scratch follows a logical sequence, and once you understand that sequence, every decision becomes easier. Whether you have a tiny courtyard or a sprawling half-acre, the process is the same.
This guide walks you through every stage of garden design, from measuring your space to putting the first plants in the ground. Along the way, you will find links to detailed how-to guides that go deeper into each topic. Think of this page as your roadmap -- bookmark it and return to it as you work through each phase of your garden project.
Step 1: Survey and Measure Your Space
Every successful garden design begins with understanding what you already have. Before sketching a single idea, you need measured dimensions, an understanding of your soil, and a clear picture of where the sun falls throughout the day.
Start by measuring the boundaries of your garden. Record the position of the house, any existing trees, fences, sheds, and utility access points. Note changes in level -- even a gentle slope affects drainage and the placement of patios and paths. If you have never surveyed a garden before, our detailed guide on how to survey your garden covers tape measure techniques, triangulation methods, and how to record levels carefully.
While you are outside, observe the sun. Note which areas receive full sun, partial shade, and deep shade at different times of day. This sun audit is one of the most important pieces of information you will gather -- it determines where you can grow sun-loving plants, where you might place a seating area for afternoon warmth, and where shade-tolerant planting will thrive. Understanding your conditions is the first step toward choosing the right plants for your garden.
Finally, test your soil. A simple pH test kit from any garden center will tell you whether your soil is acidic, neutral, or alkaline. Dig a few holes to check drainage -- does water sit in the bottom, or does it drain through within an hour? Clay, sand, loam, and chalk all behave differently and support different plants. Recording this now saves expensive mistakes later.
Step 2: Define Your Needs and Wishes
Before you think about design, think about life. How will you actually use this garden? Sit down with everyone who shares the space and make two lists: needs and wishes.
Needs are non-negotiable. These might include:
- A safe play area for children
- Space for a dog to run
- A washing line or bin storage area
- Off-street parking or bike storage
- Privacy screening from neighbors
Wishes are the things you dream about:
- A sunny patio for morning coffee
- A cutting garden for fresh flowers
- A vegetable patch
- A water feature
- Outdoor dining for eight
Once you have both lists, rank them. This ranking becomes the foundation of your design. If you are designing for children, our guide on how to design a child-friendly garden will help you balance safety with beauty. If a dog shares the space, the dog-friendly garden design guide covers non-toxic plants and durable surfaces.
A garden that looks beautiful but does not work for the people who use it every day is a failed design. Start with life, then add beauty.
Step 3: Create a Design Plan
With measurements in hand and priorities clear, it is time to put ideas on paper. Start with a scaled plan of your existing garden -- graph paper works well, or you can use digital tools for control and iteration.
The first drawing should be a bubble diagram. This is not about exact shapes. Instead, draw rough circles or blobs representing zones: seating area, lawn, planting beds, path, shed, vegetable patch. Move them around until the relationships feel right. The patio should be near the kitchen door. The compost heap should be hidden but accessible. The play area should be visible from the house.
Once the zones feel right, refine the shapes. Decide whether your paths will curve or run straight. Determine the exact size of your patio. Draw in the flower beds with their actual proportions. Our detailed guide on how to create a garden design plan covers everything from drawing to scale on paper to working with 3D visualization tools that let you see your garden layout from every angle before you build.
At this stage, consider the overall style of your garden. Do you want formal symmetry with clipped hedges and geometric beds? Or a relaxed cottage feel with flowing borders and mixed planting? The style you choose will influence every material and plant decision that follows.
Step 4: Design Your Hard Landscape
Hard landscaping -- paths, patios, walls, fences, and built structures -- forms the skeleton of your garden. It is permanent, expensive, and should be installed before any planting. Getting the hard landscape right is the most important investment you will make.
Paths
Paths do more than connect spaces. They create rhythm, guide the eye, and influence how the garden feels. A straight path creates formality and speed. A curved path slows you down and adds discovery. Materials matter too: natural stone feels established, gravel is affordable and permeable, brick adds warmth and pattern.
For a complete breakdown of path materials, layouts, and drainage considerations, see our guide on how to create a garden path.
Patios and Seating Areas
Your patio is where indoor life meets outdoor life. Size it generously -- a common mistake is building too small. As a rough guide, allow at least 3.5 meters by 3.5 meters (about 12 by 12 feet) for a table and four chairs with room to move. Larger gatherings need more space.
Think about orientation. A south-facing patio (in the Northern Hemisphere) gets the most sun, but you may also want shade for hot days. Our guide on how to design a patio covers sizing rules, material options, and shade structures in detail.
Fences, Walls, and Screens
Boundaries define your garden's character. A low picket fence creates a friendly, open feeling. A tall close-board fence provides privacy. Walls feel permanent and sheltered. Hedges offer the best of all worlds -- privacy, wildlife habitat, and beauty -- but take time to establish.
If privacy is a priority, our guide on how to design a garden for privacy covers layered screening strategies. For fence-specific advice, see how to design a garden fence.
Structures
Pergolas, arbors, and arches add vertical interest and create rooms within the garden. A pergola over a patio provides dappled shade and a framework for climbing plants. An arbor at the entrance to a path creates a sense of arrival. Our guide on how to design a pergola or arbor covers sizing, materials, and the best climbing plants to use.
Step 5: Plan Your Planting
With the hard landscape designed, it is time for the part most gardeners love best: choosing plants. But resist the urge to buy on impulse. A planting plan ensures that every plant earns its place, that you have color and interest through all four seasons, and that the garden looks good from the very first year.
Start with Structure Plants
Structure plants form the backbone of your planting. These are typically evergreen shrubs and small trees that provide shape and interest in winter when everything else has died back. Place these first. They define the outlines of beds, create focal points, and give the garden its architecture.
Add Seasonal Layers
Once the structure is in place, add layers of seasonal interest:
- Spring: bulbs, blossom trees, early perennials
- Summer: roses, perennials, annuals for continuous color
- Autumn: grasses, late-flowering perennials, berries, foliage color
- Winter: evergreens, bark interest, winter-flowering shrubs
Our guide on how to choose the right plants for your garden walks you through sun and shade requirements, hardiness zones, and how to build a succession of bloom throughout the year.
Design Your Flower Beds
The shape, color palette, and texture of your flower beds determine the overall feeling of the garden. Curved beds feel natural and relaxed. Geometric beds feel formal and controlled. Color theory plays a huge role -- complementary colors create vibrant contrast, while analogous colors create harmony. For detailed guidance, see our guides on how to design a flower bed and how to use color theory in garden design.
Step 6: Address Water, Lighting, and Infrastructure
Before planting, install any underground infrastructure. This is the stage most beginners forget, and retrofitting irrigation pipes or electrical cables under established planting is painful and expensive.
Irrigation
If you live in a dry climate or simply want a low-maintenance garden, plan irrigation from the start. Drip irrigation for beds and borders, sprinklers for lawns, and timer-controlled zones make watering effortless. Our guide on how to plan garden irrigation covers system types, zoning, water pressure, and smart controllers.
Lighting
Garden lighting extends the hours you can enjoy your outdoor space and adds drama after dark. Uplighting a beautiful tree, illuminating a path for safety, or adding warm string lights over a dining area are all simple but transformative additions. Plan cable routes before the hard landscape is laid. See our complete guide on how to design a garden lighting plan for techniques and technology.
Step 7: Build and Plant in the Right Order
With a complete plan in hand, the build sequence matters. Follow this order to avoid damaging finished work:
- Clear and prepare the site -- remove unwanted plants, level where needed, address drainage issues
- Install underground services -- irrigation pipes, electrical cables, drainage
- Build hard landscape -- foundations, paths, patios, walls, fences, raised beds
- Improve soil -- add compost, manure, or other amendments to planting areas
- Plant structure plants -- trees and large shrubs first
- Plant beds and borders -- perennials, grasses, ground cover
- Plant bulbs -- tuck these in between perennials for spring and autumn interest
- Mulch everything -- a thick layer of mulch suppresses weeds, retains moisture, and looks clean
- Lay turf or sow seed -- lawns go in last to avoid foot traffic damage
The biggest mistake beginners make is planting before the hard landscape is finished. Soil gets compacted, plants get trampled, and you end up moving things twice. Be patient -- build first, plant second.
Step 8: Think About Maintenance from Day One
A beautiful garden that demands more maintenance than you can give will not stay beautiful for long. Be honest about how much time you want to spend gardening each week and design accordingly.
If low maintenance is a priority, increase the ratio of hard landscape to planting, choose self-sufficient plants, use thick mulch to suppress weeds, and install automated irrigation. Our guide on how to plan a low-maintenance garden covers these strategies in detail.
If you love gardening and want to spend weekends tending beds, you can afford more complex planting schemes, a vegetable patch, and features like a cutting garden or a formally clipped hedge that need regular attention.
Special Projects Within Your Garden
Many gardens include special features that deserve focused planning. Here are guides for the most popular additions:
- How to Build a Raised Bed Garden -- ideal for vegetables, accessible gardening, and poor-soil sites
- How to Design a Water Feature -- ponds, fountains, rills, and wildlife ponds
- How to Design an Outdoor Living Space -- outdoor kitchens, fire pits, dining areas, and entertaining zones
- How to Design a Garden on a Budget -- phased planting, DIY hardscape, and smart cost planning
Each of these guides provides step-by-step instructions for its specific topic, and all are designed to work within the overall framework described in this guide.
Getting Started Today
Designing a garden from scratch is one of the most rewarding projects you will ever undertake. The key is to resist the temptation to skip steps. Survey first. Plan on paper. Build the hard landscape. Then plant.
Within a few weeks, you will have a clear, confident plan. Within a season, you will have a garden that is already starting to take shape. Within a year, visitors will ask who designed it -- and you will be able to say it was you.
The detailed guides linked throughout this page cover every aspect of the process. Start with whichever topic feels most pressing for your project, and return here whenever you need to see the big picture. Your garden is waiting.
Garden Design Team
Expert garden designers sharing tips, inspiration, and practical advice for creating beautiful outdoor spaces.
Explore professional garden design
Scapiera is a paid professional garden-design application. See plans for included capabilities and availability.
Join the waitlistRelated articles
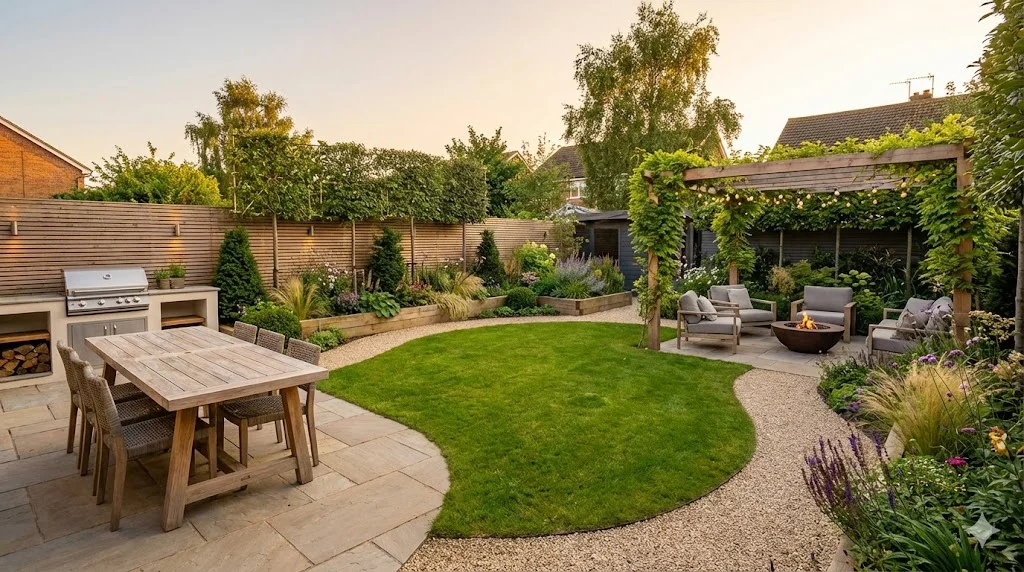
Backyard Garden Design: Creating Your Outdoor Sanctuary
Design a backyard that works as an outdoor living space. Zoning for dining, relaxation, and play, with privacy screening and year-round planting.
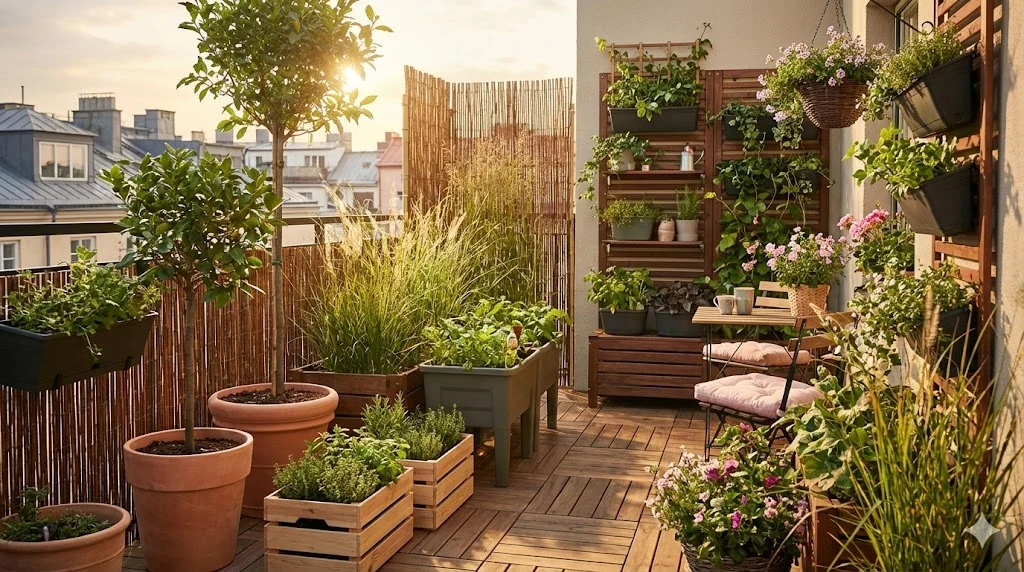
Balcony Garden Design: Growing in Containers
Create a thriving balcony garden with smart container choices, wind-resistant plants, vertical systems, and self-watering solutions for high-rise growing.
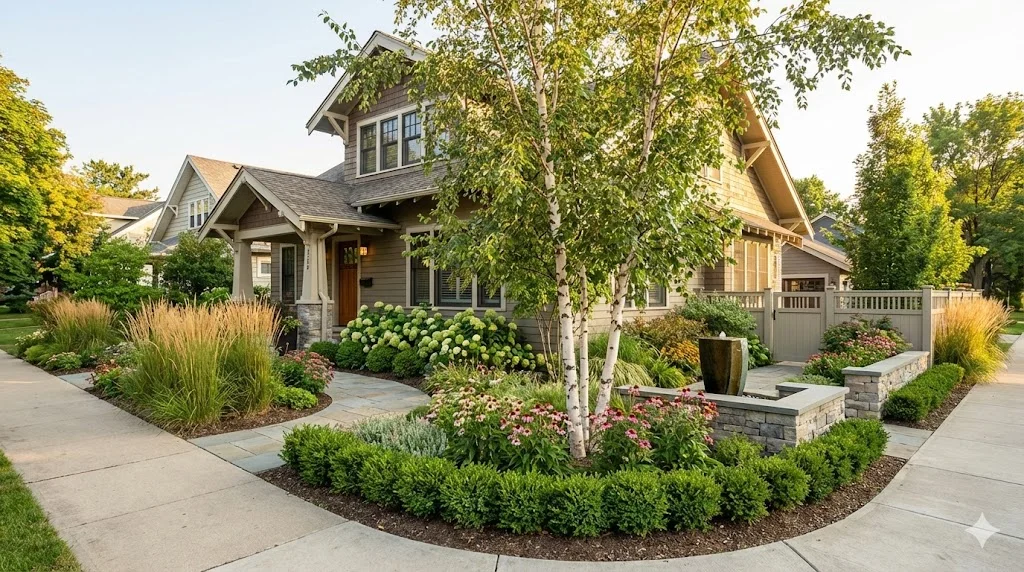
Corner Lot Garden Design: Two-Sided Curb Appeal
Design a corner lot garden that impresses from both streets. Dual frontage planting, visibility sightlines, wraparound beds, and privacy from two directions.