
How to Design a Patio: Size, Shape, and Materials
Learn how to design a patio that fits your garden perfectly with expert advice on sizing rules, material options, level changes, and furniture layout tips.
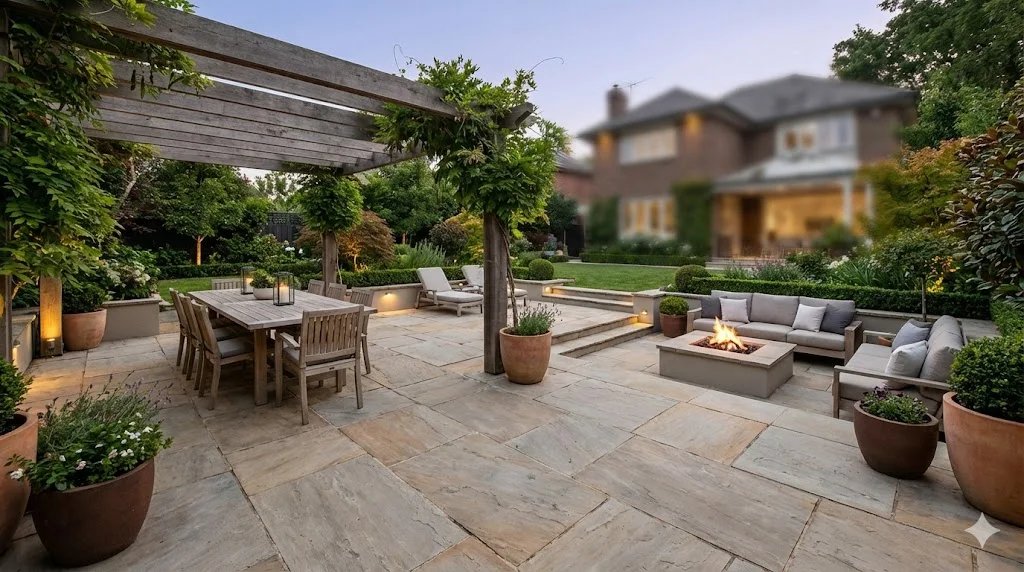
How to Design a Patio: Size, Shape, and Materials
A patio is where your home meets your garden. It is the most-used piece of hard landscape in most gardens -- the place where you eat breakfast, entertain friends, read a book, and watch your children play. Given how much time you spend on it, the patio deserves careful design attention. Too many patios are an afterthought: a rectangle of budget paving slapped against the back wall of the house, too small for the table and chairs, too exposed to wind, and disconnected from the rest of the garden.
A well-designed patio feels like an outdoor room. It has the right proportions, the right materials, shelter from wind and options for shade, and a seamless connection to both the house interior and the garden beyond. This guide covers everything you need to get your patio right. For the full garden design process, see our complete guide to designing a garden from scratch.
Getting the Size Right
The single most common patio mistake is building too small. A patio that looks generous on a plan feels cramped when you add furniture and people. Use these sizing guidelines:
Minimum Sizes
- Bistro set for two: At least 2.5 x 2.5 meters (8 x 8 feet)
- Dining table for four: At least 3.5 x 3.5 meters (12 x 12 feet)
- Dining table for six to eight: At least 4.5 x 4.5 meters (15 x 15 feet)
- Lounge seating area: At least 3 x 4 meters (10 x 13 feet)
- Combined dining and lounge: At least 5 x 6 meters (16 x 20 feet)
These measurements include clearance around furniture for comfortable movement. You need roughly 90 cm (3 feet) behind each chair for someone to pass when chairs are occupied.
Measure your furniture before you finalize your patio size. Lay it out on the ground with the exact dimensions and walk around it. If it feels tight on grass, it will feel tighter on paving. Always round up.
Proportion to the House
A patio that is too small relative to the house looks timid. As a rule of thumb, the patio should extend at least as far from the house as the height of the back wall. If your house is a two-story building with a back wall 6 meters (20 feet) high, the patio should extend at least 6 meters from the house to feel proportionate.
Similarly, the patio width should be generous relative to the width of the rooms that open onto it. A patio narrower than the room behind it creates an awkward pinch point.
Choosing a Shape
Rectangular
The most common shape and often the most effective. Rectangles echo the geometry of the house and create clean, formal spaces. They are also the most efficient use of paving material with minimal cutting.
L-Shaped
An L-shape creates two distinct zones within one patio -- dining in one arm, lounging in the other. This works well for larger gardens where a single rectangle would feel monotonous.
Circular or Curved
Circles and curves contrast beautifully with the straight lines of a house. A circular patio at the end of a garden, reached by a curving path, creates a destination that feels separate from the everyday. Curved edges where the patio meets planting beds soften the transition between hard and soft landscape.
Multi-Level
If your garden slopes, a multi-level patio works with the gradient rather than fighting it. Steps between levels create visual interest and naturally define zones. Each level can serve a different purpose -- dining on the upper terrace, lounging on the lower one.
Material Options
Natural Stone
Sandstone, limestone, granite, and slate are the premium choices. They look beautiful, feel substantial underfoot, and improve with age. Each stone has a character:
- Sandstone: Warm tones from buff to rich gold. Versatile and widely available.
- Limestone: Cool grey to warm cream. Clean and contemporary.
- Granite: Extremely durable. Silver-grey to dark charcoal. Suits modern designs.
- Slate: Dark, dramatic, and textured. Beautiful when wet.
Natural stone costs more than concrete alternatives but lasts indefinitely and adds real value to your property.
Porcelain Paving
Engineered porcelain tiles designed for outdoor use are a modern alternative to natural stone. They are extremely hard-wearing, frost-proof, stain-resistant, and available in finishes that convincingly replicate stone, wood, and concrete. They maintain their appearance over time with virtually no maintenance.
Concrete Pavers
The budget-friendly option, with a huge range of styles, sizes, and finishes. Modern pressed concrete pavers can look very good. Avoid the cheapest options, which tend to fade and stain.
Brick
Brick patios have enormous charm and suit period properties perfectly. Lay them in patterns -- herringbone, basket-weave, or stretcher bond -- for visual interest. Use frost-rated engineering bricks for durability.
Decking
Timber or composite decking creates a warm, informal feel. It works well for raised areas where building up with paving would be expensive. However, timber decking requires maintenance (annual treatment or regular cleaning) and can become slippery in wet weather. Composite decking addresses many of these issues but costs more.
Orientation and Sun
The direction your patio faces determines when and how you can use it:
- South-facing (in the Northern Hemisphere): Maximum sun. Ideal for sun-lovers but may need shade provision for hot days.
- West-facing: Catches evening sun. Perfect for after-work relaxation and evening dining.
- East-facing: Morning sun, afternoon shade. Good for breakfast but may feel cool by evening.
- North-facing: Limited direct sun. Consider light-colored materials that reflect light, and plan supplementary warmth (fire pit, outdoor heater).
If your main patio position has poor sun exposure, consider a secondary seating area elsewhere in the garden that catches the sun at the times you most want to use it. You can test how sun moves across your patio design to understand light conditions throughout the day.
Shelter and Shade
An exposed patio is uncomfortable on windy days and scorching on hot ones. Plan for both:
Wind Protection
- Hedges: The best windbreak. A hedge filters wind rather than blocking it (unlike a solid wall, which creates turbulence). Plant 2-3 meters (7-10 feet) from the patio edge.
- Screens: Slatted timber or metal screens filter wind effectively while adding visual interest.
- Planting: Tall ornamental grasses and shrubs planted around the patio edge provide natural shelter.
Shade Options
- Pergola: A permanent structure that provides dappled shade, especially when clothed with climbing plants. See our guide on how to design a pergola.
- Shade sail: Affordable, removable, and available in many shapes and colors.
- Parasol: The simplest option. Requires a heavy base or a table mount.
- Mature tree: The most beautiful shade provider, but plan carefully -- tree roots can disrupt paving foundations.
Connecting Patio to Garden
A patio that stops abruptly at a hard edge with lawn or beds beyond feels disconnected. Create a gradual transition:
- Planting pockets: Leave gaps in the paving at the edges for low-growing plants like thyme, chamomile, or erigeron. These soften the edge and blend patio into garden.
- Steps with planting: If there is a level change, flank the steps with generous planting.
- Material transition: Move from formal paving near the house to more informal materials (gravel, stepping stones) as you move into the garden.
- Container planting: Pots and planters on the patio bridge the gap between built and planted spaces.
Practical Considerations
Drainage
All patios must slope away from the house. A fall of 1 in 60 to 1 in 80 is standard -- enough to shed water without being noticeable underfoot. Direct water to a permeable area (lawn, border, gravel) or a drain.
Damp-Proof Course
The finished patio surface must sit at least 150 mm (6 inches) below the damp-proof course of the house. Building a patio above this level risks moisture damage to your walls.
Access
Ensure the patio allows comfortable access from the house. French doors, bi-fold doors, or wide sliding doors that open onto the patio create a seamless indoor-outdoor connection. If possible, match the internal floor level to the patio level for a flush threshold.
Lighting
Plan lighting from the start. Recessed lights in steps, uplights in adjacent planting, and festoon lights over the dining area extend your patio's usability into the evening. See our guide on how to design a garden lighting plan.
Getting Started
Begin by measuring the area available and the furniture you want to use. Mark out the proposed patio size on the ground using string and pegs, then place your furniture within the marked area. Live with this for a few days -- sit in the chairs, walk around the table, check the sun position at different times. Adjust the size and position until it feels right, then commit to your plan.
Your patio is the most-used surface in your garden, so invest in the best materials you can afford. For the full garden design process, return to our beginner's guide to designing a garden from scratch.
Garden Design Team
Expert garden designers sharing tips, inspiration, and practical advice for creating beautiful outdoor spaces.
Explore professional garden design
Scapiera is a paid professional garden-design application. See plans for included capabilities and availability.
Join the waitlistRelated articles
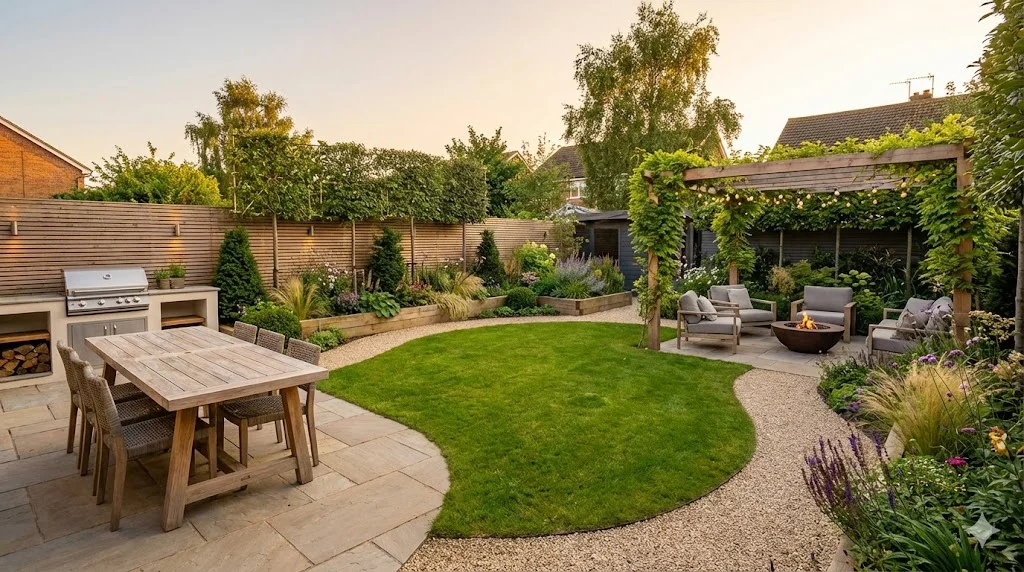
Backyard Garden Design: Creating Your Outdoor Sanctuary
Design a backyard that works as an outdoor living space. Zoning for dining, relaxation, and play, with privacy screening and year-round planting.
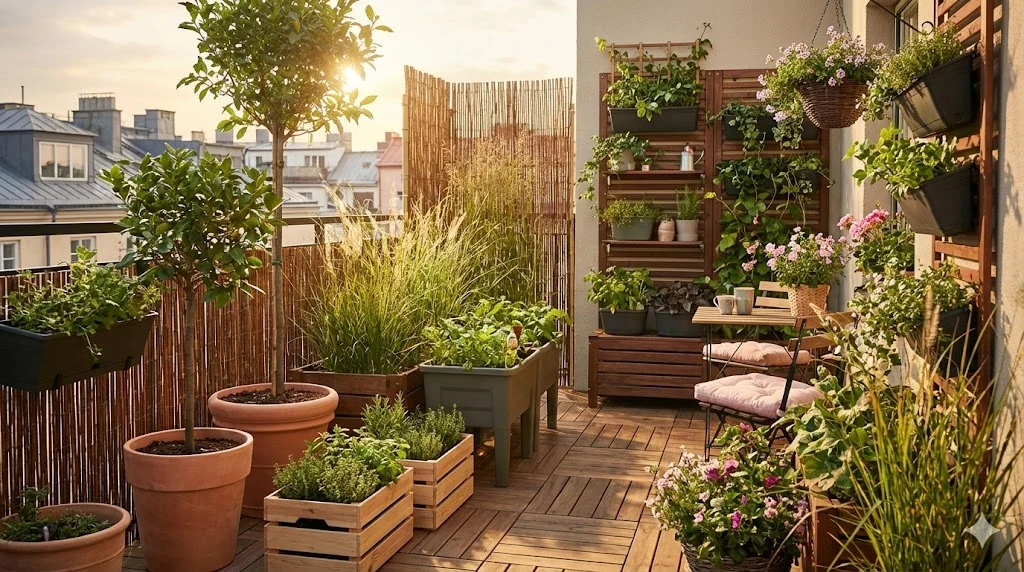
Balcony Garden Design: Growing in Containers
Create a thriving balcony garden with smart container choices, wind-resistant plants, vertical systems, and self-watering solutions for high-rise growing.
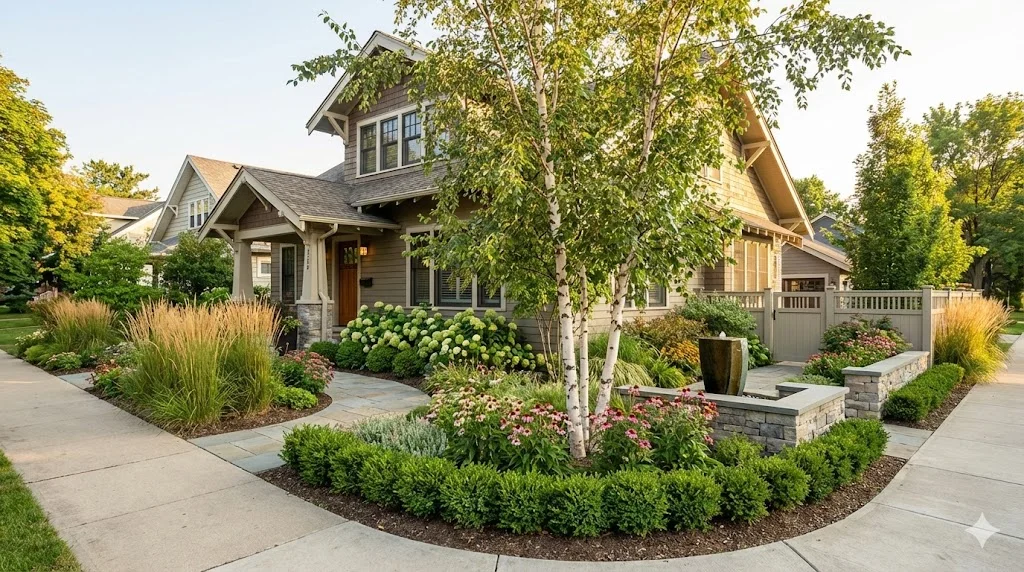
Corner Lot Garden Design: Two-Sided Curb Appeal
Design a corner lot garden that impresses from both streets. Dual frontage planting, visibility sightlines, wraparound beds, and privacy from two directions.