
How to Design a Garden Lighting Plan
Create a garden lighting plan with expert guidance on uplighting, path lights, accent lighting, solar vs wired systems, atmosphere, and safety illumination.
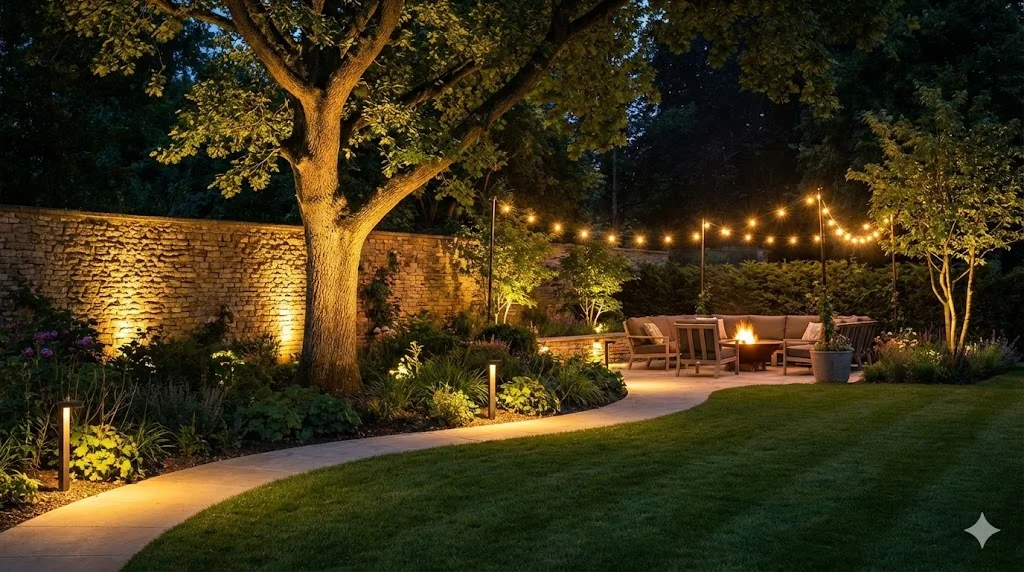
How to Design a Garden Lighting Plan
A garden after dark can be one of two things: a black void outside your windows, or a magical space that extends your home into the night. The difference is lighting. Good garden lighting transforms your view from every window, extends the hours you can use your outdoor spaces, provides safety on paths and steps, and adds drama and atmosphere that daylight never can.
Most gardeners think about lighting last, if at all. This is a mistake. The best time to plan lighting is during the design phase, before paths are laid and beds are planted, when running cables is simple and cost-effective. Retrofitting lighting into a finished garden means digging up hard landscape and disturbing established planting. This guide covers how to plan garden lighting from the beginning. For the full garden design process, see our beginner's guide to designing a garden from scratch.
The Three Functions of Garden Lighting
Every light in your garden serves one of three functions. Knowing which function you need in each location simplifies every decision.
1. Ambient Lighting (General Illumination)
Ambient lighting provides the overall glow that allows you to see and move around comfortably. It sets the mood for the entire space. Sources include:
- Festoon lights strung over a dining area
- Recessed lights in a pergola or veranda ceiling
- LED strip lighting under bench seats or coping stones
- Diffused wall lights on the house or garden walls
- Lanterns and candles on tables
Ambient lighting should be warm (2700-3000 Kelvin) and relatively soft. The goal is atmosphere, not floodlit interrogation.
2. Task Lighting (Functional Illumination)
Task lighting provides brighter, focused light where you need to see clearly for specific activities:
- Over the barbecue or outdoor kitchen (essential for safe cooking)
- At the back door (for finding keys and seeing your way in)
- On steps and level changes (critical for safety)
- In utility areas (bin storage, shed access)
Task lighting can be brighter than ambient lighting but should still avoid harsh glare. Directional downlights and hooded wall lights work well.
3. Accent Lighting (Dramatic Highlighting)
Accent lighting is the layer that creates drama, draws the eye, and makes the garden visually exciting after dark. This is where lighting becomes an art form:
- Uplighting a beautiful tree or architectural shrub
- Spotlighting a piece of sculpture or a water feature
- Grazing light across a textured wall or fence
- Silhouette lighting (backlighting a plant so its outline stands out against a lit background)
- Moonlighting (soft downlighting from within a tree canopy, mimicking moonlight)
Key Lighting Techniques
Uplighting
A ground-level light pointed upward at a tree, shrub, or wall. This is the most dramatic garden lighting technique. It reverses the natural direction of light, creating striking shadows and revealing textures invisible in daylight.
Where to use it: Feature trees, large shrubs with interesting structure, walls with beautiful texture, tall ornamental grasses
Placement: Position the light 30-60 cm (1-2 feet) from the base of the subject, angled upward. For trees, place the light on the side opposite the main viewing direction so the trunk is illuminated with the canopy above.
Path Lighting
Low-level lights along paths provide safe navigation and create a welcoming approach. Options include:
- Bollard lights: 30-60 cm (1-2 feet) tall, casting light downward in a pool around the base
- Recessed ground lights: Flush with the path surface, casting a low wash of light
- Low stake lights: Small lights on spikes pushed into the soil alongside the path
- Step lights: Recessed into step risers to illuminate each tread
Space path lights at regular intervals -- typically 2-3 meters (6-10 feet) apart -- to create a rhythm of light and shadow. Avoid overlapping pools of light, which look harsh.
Downlighting
Lights mounted high and angled downward. Useful for:
- Illuminating dining areas from a pergola
- Moonlighting effect from within a tree
- Illuminating a large planting area from a wall-mounted position
Grazing
A light placed close to a textured surface and aimed along it, so the light skims across the surface and reveals every ridge, grain, and variation. Spectacular on brick walls, rough stone, and timber screens.
Silhouette Lighting
Place a light behind a plant (between the plant and a wall) so the plant appears as a dark outline against a glowing background. Effective with architectural plants like bamboo, phormium, and tree ferns.
Planning Your Lighting Layout
Step 1: Identify What to Light
Walk through your garden at dusk and identify:
- Key trees and structural plants worth highlighting
- The main seating and dining areas that need ambient light
- All paths, steps, and level changes that need safety lighting
- The view from each major window -- what should be visible after dark?
- Any features you want to show off: water features, walls, sculpture
Step 2: Choose Lighting Positions
For each subject, decide where the light should be positioned. Consider:
- Viewing direction (light the subject from the far side so it faces you)
- Cable routing (how will the cable get to this position?)
- Maintenance access (can you reach the light to clean or replace it?)
- Concealment (the light fitting should be hidden among planting, not visible as a fixture)
Step 3: Plan Cable Routes
Low-voltage garden lighting systems need cable buried in the ground or run through conduit. Plan cable routes before any hard landscape is installed:
- Run cables under paths before they are laid
- Route cables along the edges of beds where they can be buried in soil
- Install junction boxes at accessible points for future expansion
- Connect all cables to a single transformer at the house, controlled by a timer or smart switch
You can map lighting positions onto your garden plan to visualize the effect and plan cable routes before you start installing.
Plan for more lights than you think you need. It is easy to leave an extra cable in place and add a fitting later, but impossible to run a new cable under a finished path without digging it up. Install spare cables to key positions during the build.
Solar vs. Wired Systems
Solar Lighting
Pros: No wiring, easy to install, no running costs, repositionable
Cons: Dependent on sunlight for charging (poor in winter and cloudy climates), lower light output, batteries degrade over 2-3 years, inconsistent brightness
Best for: Decorative accent lighting in summer, temporary installations, areas far from power supply
Low-Voltage Wired Systems (12V)
Pros: Consistent, reliable brightness regardless of weather, long fixture life, excellent range of professional-quality fittings, safe to install yourself (12V is not dangerous)
Cons: Requires cable installation, needs a transformer, higher initial cost
Best for: All permanent garden lighting. This is the professional standard and produces dramatically better results than solar.
Mains Voltage (120V/240V)
Pros: Supports high-wattage fixtures, long cable runs without voltage drop
Cons: Must be installed by a qualified electrician, more expensive, safety considerations
Best for: High-powered floodlights, outdoor kitchens, and feature lighting requiring high output
Choosing the Right Bulbs
- Color temperature: Use warm white (2700-3000K) for all garden lighting. Cool white (4000K+) looks clinical and harsh outdoors.
- LED only: Modern LED fixtures last 25,000-50,000 hours, use minimal energy, and produce beautiful light. There is no reason to use halogen in garden lighting anymore.
- Beam angle: Narrow beams (10-25 degrees) for spotlighting and uplighting. Wide beams (40-60 degrees) for path lighting and area illumination.
- Dimmable: Choose dimmable fittings and a controller that allows you to adjust the brightness. Full brightness for a party; soft glow for a quiet evening.
Common Lighting Mistakes
- Too much light: More is not better. Restraint creates atmosphere. A few well-placed lights are more effective than flooding the garden with brightness.
- Visible fittings: The light itself should be invisible -- only its effect should be seen. Conceal fittings among planting or recess them into surfaces.
- All one technique: Using only uplighting, or only path lights, creates a monotonous effect. Mix techniques for depth and variety.
- Forgetting the view from inside: You see your garden from indoors more than from within it. Stand at each window at night and design the view.
- No control: Lighting on a simple on/off switch is less useful than lighting on a timer, dimmer, or smart controller that allows you to adjust scenes for different occasions.
Getting Started
Start with safety lighting -- illuminate any steps, changes in level, and the main path from the house. This is immediately functional and prevents accidents. Then add one or two accent lights to your most beautiful tree or structural feature. The transformation from these few lights will inspire you to extend the system further.
For guidance on the outdoor living spaces your lighting will illuminate, see how to design an outdoor living space. For the complete garden design process, return to our beginner's guide to designing a garden from scratch.
Garden Design Team
Expert garden designers sharing tips, inspiration, and practical advice for creating beautiful outdoor spaces.
Explore professional garden design
Scapiera is a paid professional garden-design application. See plans for included capabilities and availability.
Join the waitlistRelated articles
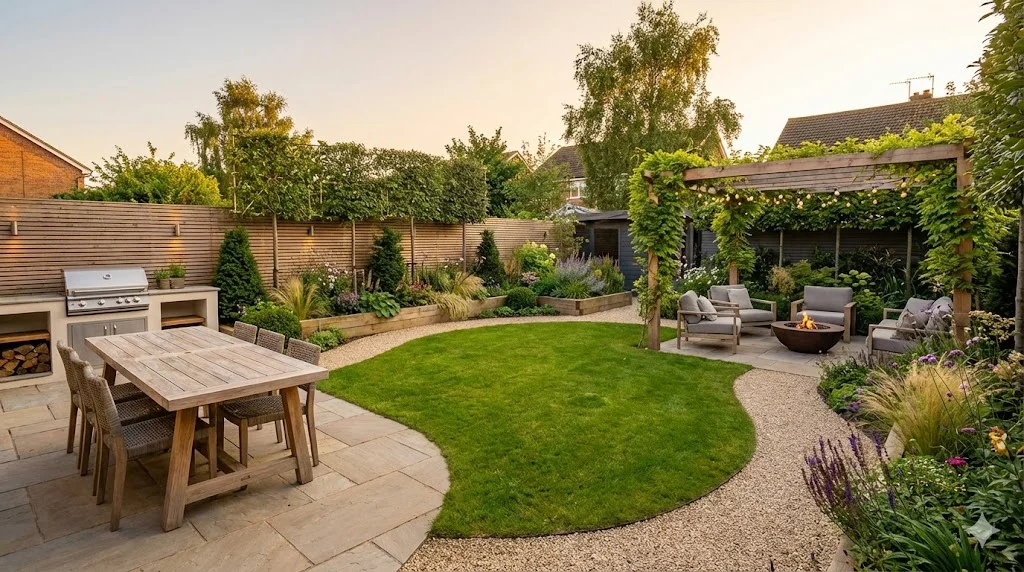
Backyard Garden Design: Creating Your Outdoor Sanctuary
Design a backyard that works as an outdoor living space. Zoning for dining, relaxation, and play, with privacy screening and year-round planting.
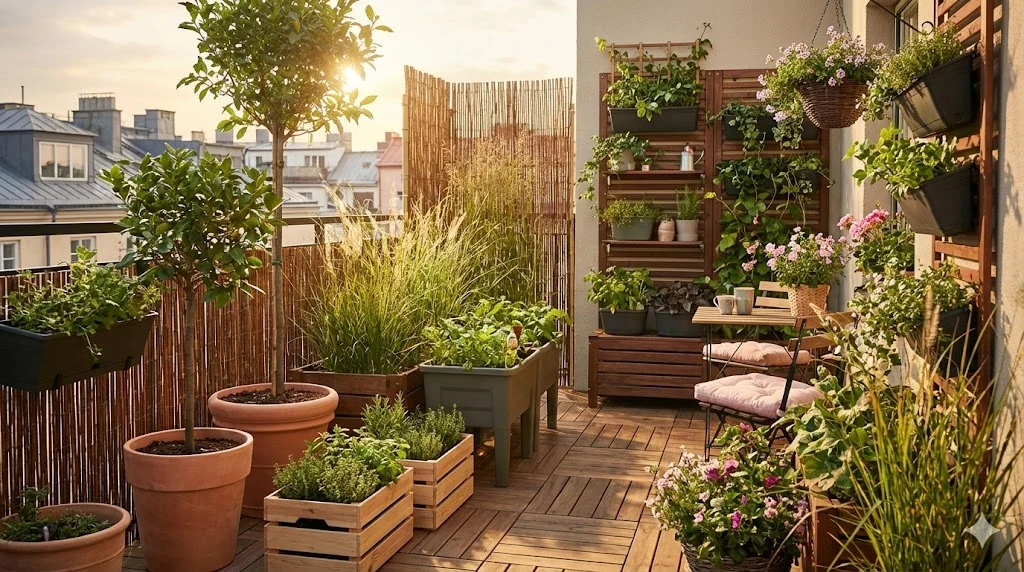
Balcony Garden Design: Growing in Containers
Create a thriving balcony garden with smart container choices, wind-resistant plants, vertical systems, and self-watering solutions for high-rise growing.
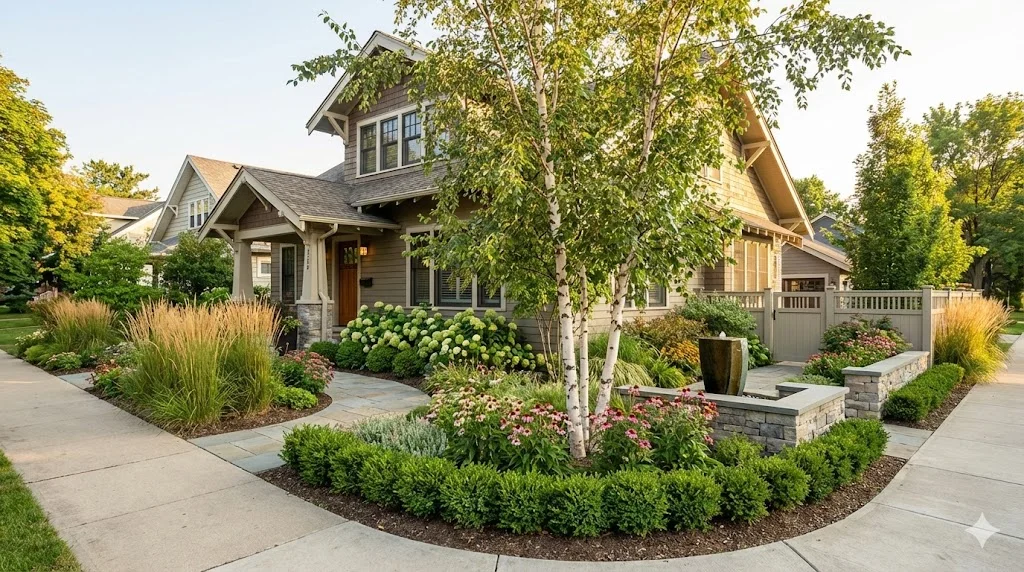
Corner Lot Garden Design: Two-Sided Curb Appeal
Design a corner lot garden that impresses from both streets. Dual frontage planting, visibility sightlines, wraparound beds, and privacy from two directions.