
How to Create a Garden Design Plan on Paper and in 3D
Learn how to create a garden design plan from surveying and drawing to scale through bubble diagrams to 3D visualization for confident garden planning.
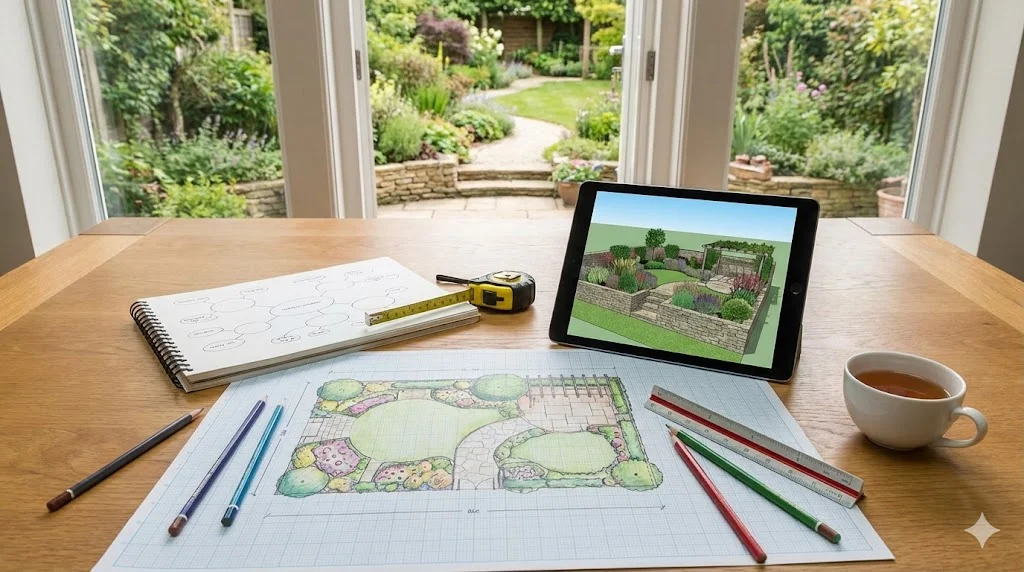
How to Create a Garden Design Plan on Paper and in 3D
A garden without a plan is a collection of impulse purchases arranged around a lawn. A garden with a plan is a composed space where every element -- from the curve of a path to the height of a hedge -- works together to create something greater than the sum of its parts. The plan is the bridge between your vision and reality, and creating one is more straightforward than most people assume.
Whether you prefer graph paper and colored pencils or digital tools that let you walk through your design in three dimensions, the process follows the same logical steps. This guide covers both approaches and shows you how to move from a rough survey to a polished design you can build with confidence. For a complete overview of the entire garden design process, see our beginner's guide to designing a garden from scratch.
Why You Need a Plan
It is tempting to skip the planning stage and start buying plants and paving. But without a plan, you risk:
- Wasted money on materials that do not fit or plants that end up in the wrong spot
- Poor proportions -- a patio too small for your table, a path too narrow to walk comfortably
- Forgotten infrastructure -- irrigation pipes and lighting cables are painful to install after paths are laid
- A garden that does not flow -- spaces that feel disconnected rather than composed
A plan forces you to think through every decision before you commit to anything permanent. It also becomes a communication tool if you are working with contractors, a partner, or neighbors.
Step 1: Survey Your Site
Before you draw anything, you need measured dimensions. If you have not already surveyed your garden, our guide on how to survey your garden covers the full process. At minimum, you need:
- The exact dimensions of all boundaries
- The position of the house, doors, and windows relative to the garden
- The location of existing trees, sheds, and built features
- Any changes in level, even gentle slopes
- North orientation (for sun path)
- Positions of drains, manholes, and utilities
Record everything in a rough sketch with measurements in either meters or feet -- whichever you are comfortable with. This sketch is your raw material for the design plan.
Step 2: Draw a Scaled Base Plan
Transfer your survey measurements onto a scaled drawing. This is the foundation of all further design work.
On Paper
Use graph paper or isometric grid paper. Choose a scale that fits your garden onto the page:
- Small gardens (up to 10 meters / 33 feet long): 1:50 scale -- each 2 cm on paper equals 1 meter in reality
- Medium gardens (10-20 meters / 33-66 feet): 1:100 scale -- each 1 cm equals 1 meter
- Large gardens (over 20 meters / 66 feet): 1:200 scale -- each 0.5 cm equals 1 meter
Draw the boundaries first, then add the house footprint, existing features, and trees. Mark the north arrow. This base plan shows your site as it exists today, with no new design elements.
Digitally
Digital tools offer control and the ability to iterate quickly. Whether you use a dedicated garden design application or a general-purpose drawing tool, the principle is the same: create a measured base plan at scale, then layer your design on top. The advantage of digital planning is that you can test different layouts and see them from multiple angles before committing to one approach.
Step 3: Create Bubble Diagrams
A bubble diagram is the most underrated tool in garden design. It looks simple -- just rough circles or shapes drawn over your base plan -- but it solves the hardest problem in design: spatial organization.
Each bubble represents a zone or function:
- Patio / seating
- Lawn / open space
- Main planting bed
- Vegetable garden
- Children's play area
- Shed / storage
- Path / circulation
- Screening / privacy planting
Do not worry about exact shapes at this stage. Focus on relationships:
- The dining area should be close to the kitchen door
- The compost area should be accessible but screened from the seating area
- The children's play area should be visible from the kitchen window
- The most colorful planting should be visible from the most-used rooms
Draw at least three different bubble diagrams. The first one is rarely the best. By the third attempt, you will start seeing arrangements you had not considered, and the best solution often combines elements from multiple versions.
Try different arrangements. Overlap is fine -- it shows where zones share space. The goal is to find the arrangement that feels right for how you live, not to create a perfect drawing.
Step 4: Refine into a Master Plan
Once your preferred bubble diagram is chosen, refine it into a detailed master plan. This is where rough circles become defined shapes, and conceptual zones become specific features.
Define Shapes and Edges
- Paths: Decide on width (at least 90 cm / 3 feet for a comfortable single-person path, 150 cm / 5 feet for two people walking side by side). Choose whether they curve or run straight.
- Patios: Size to fit your furniture with room to move. A table for six needs at least 3.5 by 3.5 meters (12 by 12 feet).
- Beds and borders: Determine their depth. A border less than 1 meter (3 feet) deep is difficult to plant with any complexity.
- Lawn: Define its shape cleanly. Smooth curves are easier to mow than fussy scalloped edges.
Add Measurements
Every element on the plan should have a dimension. This is essential if contractors are building from your plan, and helpful even if you are building it yourself. Record:
- Path widths and lengths
- Patio dimensions
- Bed depths and lengths
- Distances from the house to key features
- Heights for walls, fences, and raised beds
Choose Materials
Note the materials for each hard landscape element directly on the plan:
- Patio: natural sandstone, porcelain tiles, or concrete pavers
- Paths: gravel, brick, stepping stones, or resin-bound aggregate
- Fences: close-board timber, hit-and-miss panels, or metal railings
- Walls: brick, stone, rendered block, or gabion
For detailed guidance on path materials, see how to create a garden path. For patio design, see how to design a patio.
Step 5: Create a Planting Plan
The planting plan is a separate drawing that sits over your master plan. It shows the exact position, species, and quantity of every plant.
Layer Your Planting
Work from the back of each bed to the front:
- Back layer (tallest): trees, tall shrubs, large grasses
- Middle layer: medium perennials, roses, mid-height grasses
- Front layer (shortest): low perennials, ground cover, edging plants
- Bulb layer (woven through): spring bulbs, autumn crocus, alliums
Use Symbols and a Key
On paper, draw each plant as a circle representing its mature spread. Use different patterns or colors for different plant types. Include a key listing the botanical name, common name, quantity, and mature height and spread for each plant.
For advice on selecting the right plants for your conditions, see how to choose the right plants for your garden. For bed design principles, see how to design a flower bed.
Step 6: Move from 2D to 3D
A flat plan tells you where things go, but it cannot show you what the garden will feel like to stand in. This is where three-dimensional visualization becomes invaluable.
What 3D Shows You That 2D Cannot
- Height relationships: Will the pergola feel too tall? Will the hedge block the view from the kitchen?
- Proportions: Does the patio look balanced against the width of the garden?
- Sightlines: What will you see when you step out of the back door? What is hidden around the corner?
- Light and shadow: How will structures cast shade across planting beds?
A flat drawing might look perfect, but walking through the design in three dimensions often reveals issues that no top-down view can catch. You can explore your garden design from any viewpoint to understand exactly how each element relates to the space around it.
Simple 3D Techniques
Even without digital tools, you can test three-dimensional relationships:
- Bamboo canes and string: Mark out paths and bed edges on the ground. Use tall canes to represent trees and structures.
- Cardboard cutouts: Stand a piece of cardboard at the proposed height of a fence or wall to check sightlines.
- Photographs: Take photos from key viewpoints (kitchen window, back door, patio) and sketch proposed features onto printed copies.
Step 7: Create an Implementation Plan
Your final document should be a phased build plan that specifies the order of work:
- Site clearance and preparation
- Underground services (irrigation, electrics, drainage)
- Hard landscape construction (foundations, paving, walls, fences)
- Soil preparation and improvement
- Planting (structure plants first, then layers of perennials and ground cover)
- Mulching and finishing
Include a rough budget breakdown for each phase. If the total exceeds your budget, the phased plan lets you build the garden over multiple seasons without compromising the design. For budget-conscious approaches, see how to design a garden on a budget.
Common Mistakes to Avoid
- Designing without measuring: Guessing dimensions leads to problems. Measure everything.
- Skipping the bubble diagram: Jumping straight to detailed design without exploring spatial relationships produces stiff, uninspired layouts.
- Ignoring the view from inside: You see your garden from inside the house more than from within it. Design key views from windows and doors.
- Forgetting maintenance access: Can you get a wheelbarrow to the compost heap? Can you reach the back of deep borders without trampling plants?
- Over-complicating the shape: Simple, confident shapes are almost always more beautiful than fussy, complicated ones.
The best garden plans are not the most detailed -- they are the ones that capture the essence of what you want the garden to feel like. A clear, simple plan executed well will always outperform a complicated plan executed poorly.
Getting Started This Weekend
You do not need to complete your plan in one sitting. Start this weekend with these three tasks:
- Measure your garden and record the results in a rough sketch
- Draw a scaled base plan on graph paper or in a digital tool
- Create three bubble diagrams exploring different arrangements
Garden Design Team
Expert garden designers sharing tips, inspiration, and practical advice for creating beautiful outdoor spaces.
Explore professional garden design
Scapiera is a paid professional garden-design application. See plans for included capabilities and availability.
Join the waitlistRelated articles
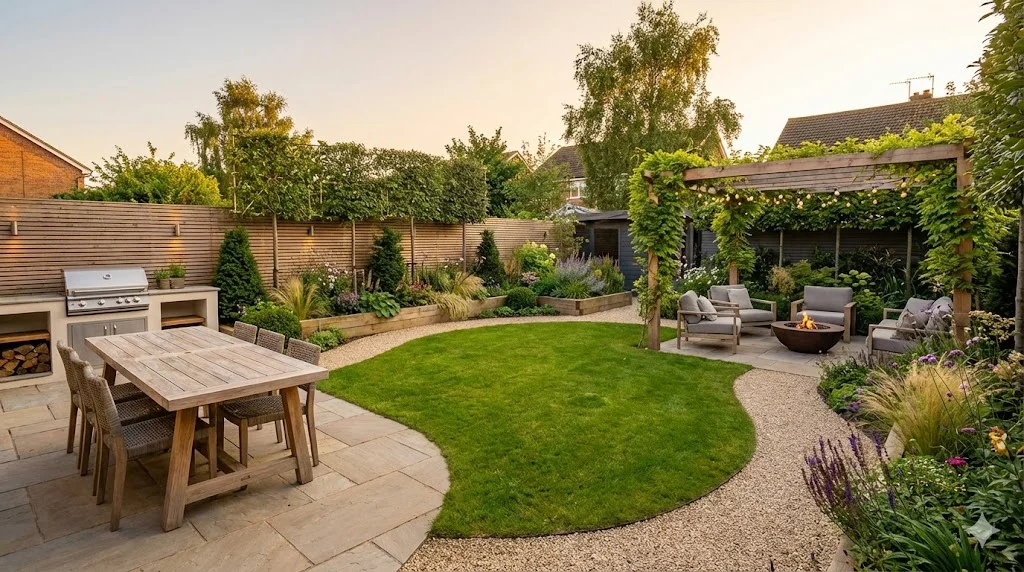
Backyard Garden Design: Creating Your Outdoor Sanctuary
Design a backyard that works as an outdoor living space. Zoning for dining, relaxation, and play, with privacy screening and year-round planting.
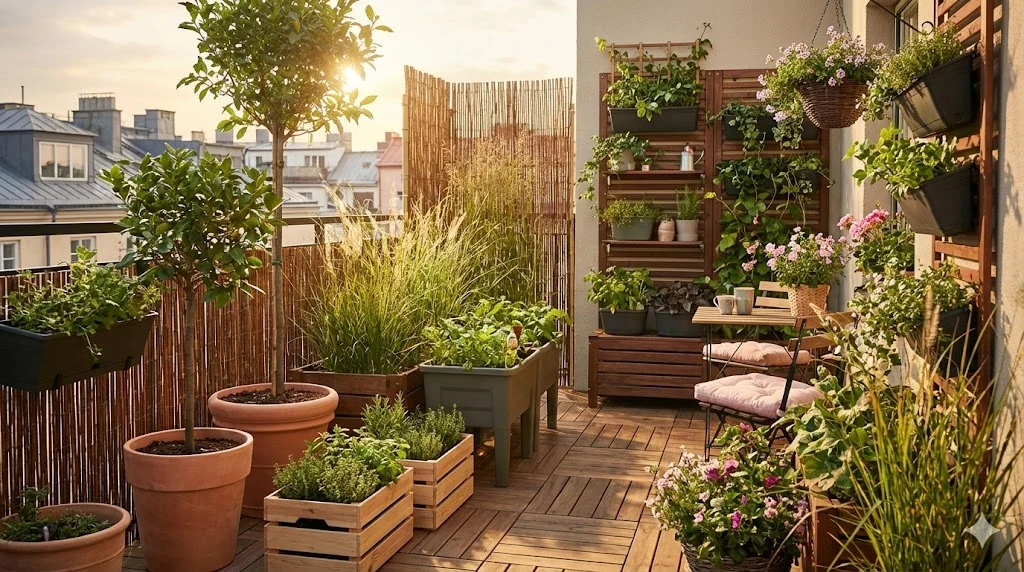
Balcony Garden Design: Growing in Containers
Create a thriving balcony garden with smart container choices, wind-resistant plants, vertical systems, and self-watering solutions for high-rise growing.
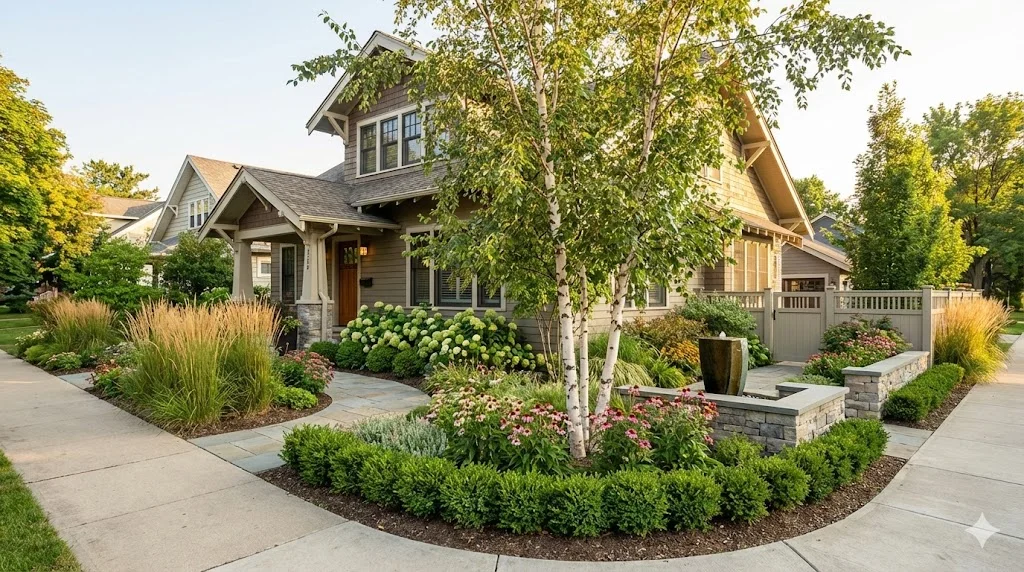
Corner Lot Garden Design: Two-Sided Curb Appeal
Design a corner lot garden that impresses from both streets. Dual frontage planting, visibility sightlines, wraparound beds, and privacy from two directions.