
Narrow Garden Design: Making the Most of a Slim Space
Transform a long narrow garden into a series of inviting spaces. Diagonal paths, lateral planting, and clever zoning to beat the tunnel effect.
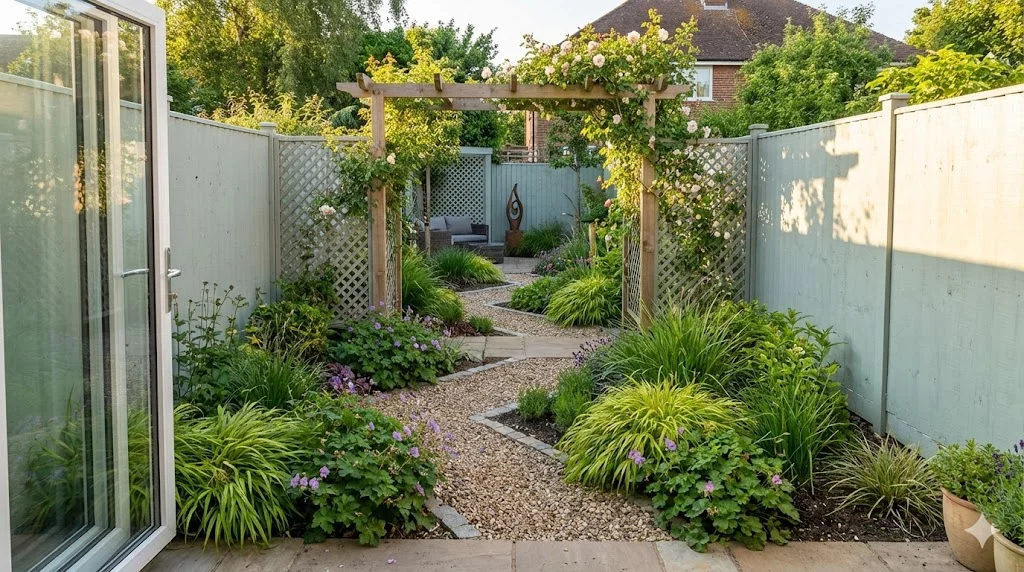
Narrow Garden Design: Making the Most of a Slim Space
Long, narrow gardens are one of the most common plot shapes in Britain, particularly behind Victorian and Edwardian terraced houses. A plot that measures four metres wide and twenty-five metres deep presents a genuine design challenge. Walk outside, look down the length of it, and the overwhelming impression is of a corridor -- a space that funnels your gaze straight to the back wall and offers nothing to slow you down along the way.
That corridor feeling is what designers call the tunnel effect, and it is the central problem of narrow garden design. Everything that follows in this guide addresses it from a different angle. The good news is that a long narrow garden has one enormous advantage over a small square one: length gives you room to create a sequence of distinct spaces, each with its own character and purpose. A square garden is a single room. A narrow garden can be a journey.
This guide is part of our broader look at garden design for any space, which covers fourteen different plot types. If your garden is both narrow and small, you may also find useful ideas in our guide to making a small garden feel bigger.
Why Narrow Gardens Feel Like Tunnels
Before solving a problem, it helps to understand why it exists. A narrow garden creates the tunnel effect for three reasons. First, the parallel boundaries -- fences, walls, or hedges running along each side -- create strong converging lines that pull your eye to a single vanishing point. Second, a straight path down the centre reinforces those lines and speeds up the visual journey. Third, uniform planting on both sides offers no interruption, no reason for the eye to pause or wander.
Every effective narrow garden design attacks at least two of these three causes. The most successful designs tackle all three simultaneously. The strategies below are not alternatives to one another -- they work best in combination.
Diagonal Paths: The Single Most Effective Change
If you make only one change to a long narrow garden, make it this: abandon the straight central path. A path that runs diagonally from one side to the other -- even at a modest angle -- immediately breaks the tunnel effect. It forces the eye to travel sideways as well as forwards, and it creates irregular, triangular planting beds on either side. Those asymmetric beds are far more interesting than the mirror-image borders that a straight path produces.
A diagonal path also makes the garden feel wider. When you walk at an angle across a four-metre width, you cover more ground laterally, and the space opens up. The strongest version of this approach uses a zigzag: the path moves from lower left to upper right, then shifts back from upper right to lower left. Each change of direction creates a natural pause point -- a place to sit, a focal point to admire, or a threshold between one garden zone and the next.
The material you choose matters too. Wider paths feel more generous, and a path that is 900 mm to 1200 mm wide will not look cramped even in a narrow plot. Pale-coloured paving reflects more light and contributes to the sense of openness. Avoid dark, narrow paths -- they reinforce the corridor feeling you are trying to escape.
Lateral Planting and Staggered Beds
Planting is where you can do the most to disguise a garden's proportions. The key principle is to emphasise horizontal lines and interrupt vertical ones. In a narrow garden, "vertical" means the long axis -- the direction you want to de-emphasise.
Staggered beds are the most powerful planting strategy for a narrow space. Instead of running continuous borders along both fences, create beds that jut out from alternate sides. A bed on the left extends a metre into the garden, followed by open space, then a bed on the right extends a metre and a half. This staggering creates a series of pinch points and openings that break the long view into shorter segments. Each segment feels like its own space.
Within those beds, choose plants that spread horizontally rather than reaching upward. Low, mounding shrubs like Hebe cultivars, Geranium macrorrhizum, and Alchemilla mollis create soft, wide shapes that pull the eye sideways. Ornamental grasses such as Hakonechloa macra and Stipa tenuissima add movement and width without excessive height. If you need height for screening, use narrow-columnar plants like Taxus baccata 'Fastigiata' or Ilex crenata rather than broad, spreading shrubs that will consume your limited floor space.
Layering plants by height -- low at the front, medium in the middle, tall at the back -- also helps, because it creates depth within each bed. Depth is perceived width. A border that reads as a flat wall of green does nothing for the sense of space, but one with visible layers draws the eye inward and makes the bed feel more substantial than its footprint suggests.
Creating Width Illusions
Beyond planting, several design tricks can make a narrow garden appear wider than it is.
- Horizontal lines in hard landscaping. Lay decking boards or pavers perpendicular to the long axis. Horizontal lines across the width counteract the dominant lengthwise lines of the fences. A timber deck with boards running side to side is one of the simplest and most effective width-creating devices.
- Colour gradation. Warm colours (reds, oranges, yellows) appear to advance, while cool colours (blues, purples, soft greens) recede. Plant warm-toned flowers near the viewing point and cooler tones further away. This compresses the apparent length and broadens the sense of width.
- Low, wide furniture. A bench or table that stretches across a significant portion of the garden's width draws the eye laterally. Choose furniture that sits low to the ground -- it will make the space feel more open than tall, upright pieces.
- Mirrors and reflective surfaces. A well-placed mirror on a side fence can double the perceived width of a section. Frame it with climbers so it looks like a window into another garden rather than an obvious mirror. Reflective water features -- a narrow rill running across the width, or a still pool set into paving -- also bounce light sideways and create the impression of greater space.
- Painted or rendered walls. A pale-coloured wall on one side of the garden reflects light and recedes visually. If both boundaries are dark timber fences, painting or rendering even one of them in a light tone will make a noticeable difference.
When you are planning your narrow garden layout digitally, you can experiment with these width illusions before committing to any construction -- testing diagonal paths, staggered beds, and furniture placement to see what genuinely works for your specific dimensions.
Focal Points at Angles
A focal point is anything that catches the eye and holds it for a moment -- a specimen plant, a piece of sculpture, a water feature, a beautifully planted container. In a narrow garden, where you place focal points is critical.
The worst position for a focal point in a narrow garden is dead centre at the far end. This is exactly where the tunnel effect wants to pull your gaze, and a focal point there simply accelerates the journey. Instead, place focal points off-centre and at angles to the main line of sight. A sculptural pot positioned at the left-hand side of the garden, two-thirds of the way down, forces the eye to travel diagonally. A small tree placed where the path changes direction draws attention to the width of the space at that point.
Layered focal points are even more effective. Place one at a near angle on the right, another at a mid-distance angle on the left, and a third further back. The eye bounces between them in a zigzag pattern, and the garden reads as a rich, complex space rather than a linear corridor. Each focal point also creates a reason to move through the garden, turning a walk down the length into a sequence of discoveries rather than a single, predictable journey.
Screening and Zoning: Creating Garden Rooms
One of the greatest advantages of a long narrow garden is the opportunity to create distinct zones. A twenty-metre length can comfortably accommodate three separate areas -- a social space near the house, a productive or ornamental middle section, and a quiet retreat at the far end. The trick is in how you divide them.
Full-height screens that run from fence to fence create the strongest sense of separate rooms, but in a narrow garden they also create a claustrophobic box. Partial screens work far better. A trellis panel that covers two-thirds of the width, with an opening on one side, separates the zones while allowing a glimpse through to the next space. That glimpse is important -- it maintains a sense of depth and invites exploration.
Planting can serve as screening too. A group of three tall grasses like Miscanthus sinensis 'Gracillimus', positioned to one side, creates a semi-transparent barrier that shifts in the wind. A pleached hedge -- trees trained to form a raised, narrow hedge on clear stems -- provides screening above eye level without consuming ground space. Evergreen climbers on a simple post-and-wire framework offer another lightweight option.
Vary the character of each zone. The dining area near the house might have smooth paving and clipped box in containers. The middle section could be looser, with gravel paths and herbaceous planting. The far end might be wild and naturalistic, with a small tree and ground-cover planting. These shifts in style reinforce the sense of separate rooms and make the garden feel larger because it contains more variety than a single, unified scheme.
Overhead Structures: The Forgotten Dimension
Most narrow garden design focuses on the plan view -- what happens on the ground. But the vertical dimension above your head is equally important, and overhead structures are one of the most underused tools in narrow garden design.
A pergola spanning the width of the garden creates a powerful horizontal frame. It defines a threshold between zones, provides shade, and draws the eye upward and outward rather than along the ground. Clothed in climbers -- Wisteria, Rosa cultivars, Trachelospermum jasminoides -- a pergola becomes a living ceiling that transforms the space beneath it.
Sail shades and tensioned canopies achieve a similar effect with less permanent structure. Even a single tree with a spreading canopy, positioned where its branches reach across half the garden's width, creates overhead enclosure that breaks the tunnel. The canopy compresses the vertical space and makes the area beneath it feel intimate and room-like.
The key is to use overhead elements at intervals, not continuously. A pergola that runs the entire length of the garden would create a covered corridor -- the tunnel effect wearing a hat. One pergola near the house, open sky in the middle, and a tree canopy at the far end creates rhythm and variation.
Side Yards and Extreme Narrowness
If your narrow garden is actually a side passage -- the strip between your house and the boundary fence -- the challenges intensify. Widths of 1.5 to 2.5 metres demand a different approach entirely. In these extreme cases, simplicity is essential. A single line of stepping stones, a narrow raised bed against one wall, and a climber on the opposite fence may be all the space allows. Vertical gardening becomes paramount: wall-mounted planters, espaliered fruit trees, and climbing plants make the walls themselves the garden. Our guide to side yard garden design covers these very tight spaces in detail.
Even in a slightly wider but still narrow plot, avoid the temptation to fill every centimetre. Negative space -- areas of clean paving, gravel, or lawn with nothing planted -- is what gives a narrow garden breathing room. A narrow garden crammed with plants feels smaller, not larger. Restraint in planting density is one of the hardest disciplines for keen gardeners, but in a slim space it is non-negotiable.
Putting It Into Practice
A narrow garden is not a compromise -- it is a specific design opportunity. The length that creates the tunnel effect also gives you room for sequence, surprise, and variety. Here is a practical sequence for designing your narrow garden:
- Measure accurately. Record the exact width and length, noting any changes in width along the plot. Mark the position of doors, windows, and any fixed elements like drains or manholes.
- Identify your zones. Decide how many distinct areas you want and what each one is for. Three is a good starting number for most narrow gardens.
- Draw a diagonal. Sketch a path that moves at an angle across the space, changing direction at least once. This single line will generate the basic structure of your layout.
- Place your screens. Decide where one zone ends and the next begins. Choose partial screens that allow glimpses through.
- Position focal points. Place them off-centre, at angles, and at different distances. Step back and check that no focal point sits on the central axis.
- Plan your planting. Use staggered beds, emphasise horizontal plant forms, and layer by height within each bed. Repeat key plants for rhythm and cohesion.
- Add overhead elements. Place a pergola, tree, or canopy at one or two points to break the vertical tunnel.
- Review from every angle. Check the view from the house, from the far end, and from each zone looking both ways. A successful narrow garden design works from every viewpoint, not just from the back door.
Long narrow garden ideas often look dramatic on paper but fall flat in reality because they were designed from a single perspective. Walk the space, stand in each zone, and test your design from ground level before committing to construction. The best narrow gardens reward movement -- they change as you move through them, revealing new views and new spaces with every step.
Garden Design Team
Expert garden designers sharing tips, inspiration, and practical advice for creating beautiful outdoor spaces.
Explore professional garden design
Scapiera is a paid professional garden-design application. See plans for included capabilities and availability.
Join the waitlistRelated articles
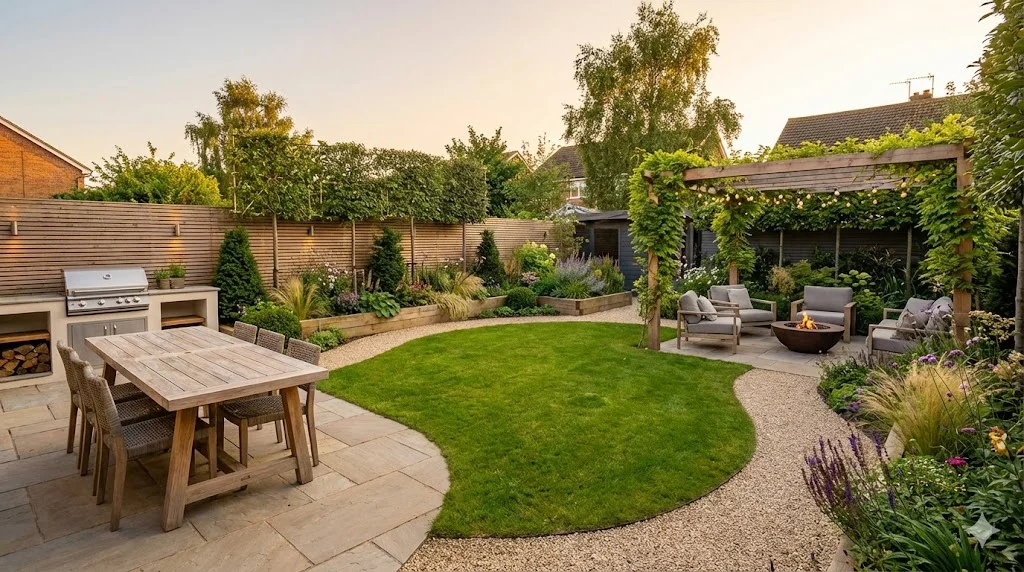
Backyard Garden Design: Creating Your Outdoor Sanctuary
Design a backyard that works as an outdoor living space. Zoning for dining, relaxation, and play, with privacy screening and year-round planting.
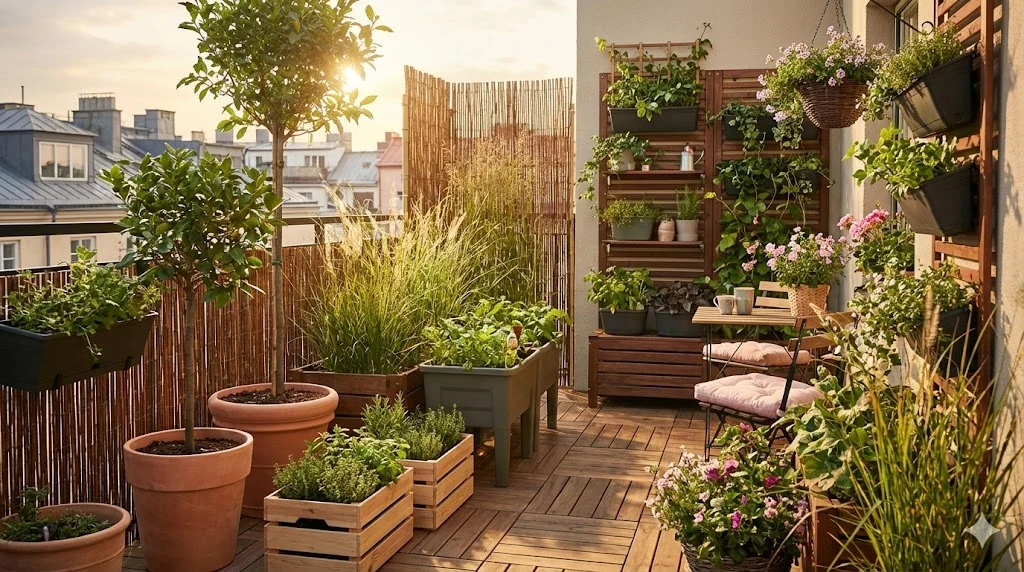
Balcony Garden Design: Growing in Containers
Create a thriving balcony garden with smart container choices, wind-resistant plants, vertical systems, and self-watering solutions for high-rise growing.
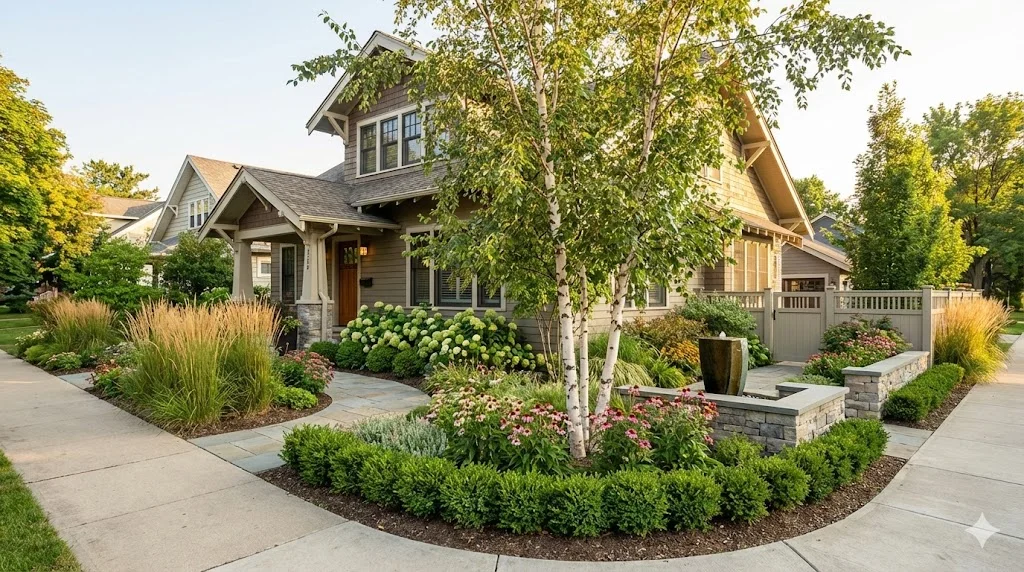
Corner Lot Garden Design: Two-Sided Curb Appeal
Design a corner lot garden that impresses from both streets. Dual frontage planting, visibility sightlines, wraparound beds, and privacy from two directions.