
Rain Garden Design: Beautiful Stormwater Management
Build a rain garden that captures stormwater, supports wildlife, and looks beautiful. A complete guide to rain garden sizing, planting, and maintenance.
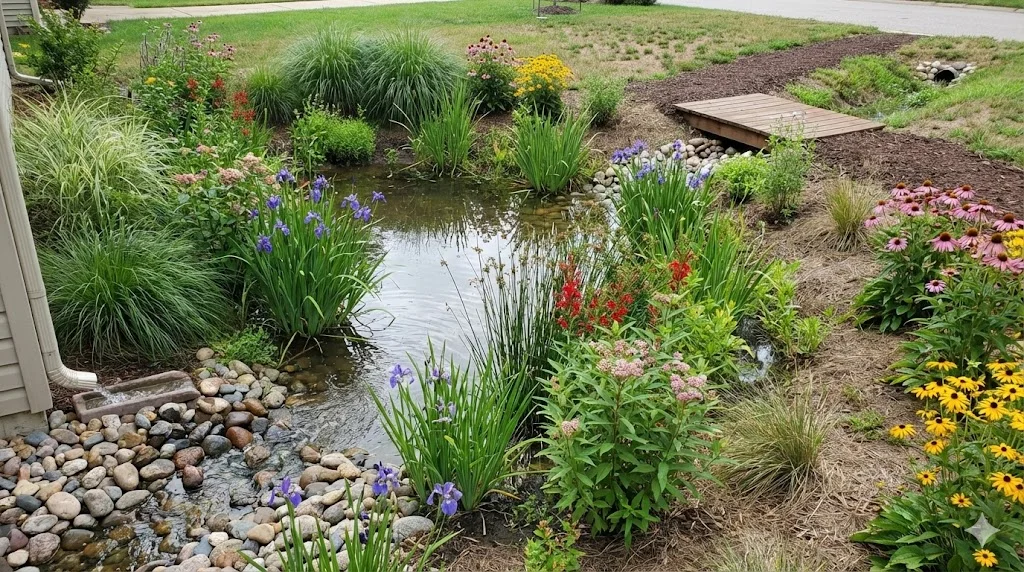
Every time it rains, water rushes off your roof, driveway, and paving, carrying pollutants and pooling where you least want it. A rain garden turns that problem into something remarkable: a shallow, planted depression that collects stormwater, filters it through soil, and returns it clean to the ground below. Instead of a soggy corner or an overflowing drain, you get a garden bed alive with iris, sedge, and cardinal flower, changing character through the seasons while quietly performing the engineering work of a municipal drainage system.
Rain garden design sits at the intersection of horticulture and hydrology. It asks you to think about water the way a landscape engineer does, while choosing plants the way a gardener does. The result is a planting that looks entirely intentional and beautiful, yet handles thousands of liters of runoff in a single storm without complaint.
What a Rain Garden Actually Does
A rain garden is a form of bioretention: a planted area engineered to receive, hold, and infiltrate stormwater runoff. During a rainstorm, water flows into the garden from surrounding hard surfaces, collects in the shallow basin, and slowly soaks through a specially blended soil mix into the ground below. The process typically takes 24 to 48 hours. Between rain events, the garden drains completely and functions like any other planted bed.
Stormwater running off roofs and driveways picks up oil, heavy metals, fertilizer residue, and sediment. A rain garden filters out up to 90 percent of these pollutants before they reach groundwater or local waterways. It reduces the volume and velocity of runoff entering storm drains, lowering flood risk downstream. It recharges the local water table. And it creates habitat: the combination of wet and dry conditions supports a diversity of species that few conventional garden beds can match.
Choosing the Right Site
Walk your garden during a heavy rain. Watch where water runs, where it pools, and where it drains away. The ideal site is a natural low point that already receives sheet flow from roofs, drives, or lawns. Downspout discharge points are especially good candidates: a single downspout on a typical house can deliver over 3,000 liters (800 gallons) of water during a moderate storm.
Position the rain garden at least 3 meters (10 feet) from your house foundation to prevent water from seeping toward the building. Avoid placing it directly over septic systems, utility lines, or large tree root zones.
Before committing to a location, perform a simple percolation test. Dig a hole 30 cm (12 inches) deep, fill it with water, and let it drain. Refill it and time how long the second filling takes to empty. If the water drops at least 2.5 cm (1 inch) per hour, the site has adequate infiltration. If drainage is slower, you can still build a rain garden but will need to incorporate an underdrain -- a perforated pipe at the base that routes excess water to a storm drain or dry well.
Sizing Your Rain Garden
Undersizing is the most common mistake in rain garden design. A garden that is too small for its catchment area will overflow regularly, eroding its edges and defeating its purpose.
A reliable starting rule for most residential sites: make the rain garden 20 to 30 percent of the impervious area draining into it. If your roof section is 50 square meters (540 square feet), aim for a rain garden of 10 to 15 square meters (108 to 162 square feet). In heavy clay soils, size up toward 30 percent. In sandy soils, 20 percent is usually sufficient.
Design for a maximum ponding depth of 15 to 20 cm (6 to 8 inches). Deeper ponding holds more water but limits plant choices and increases mosquito risk. Shallower ponding broadens your plant palette but requires a larger footprint. When planning the shape and proportions of your rain garden, keep in mind that organic, kidney-shaped basins look more natural than rigid rectangles and distribute inflowing water more evenly.
Excavation and Soil Mix
Excavate to a uniform depth of 45 to 60 cm (18 to 24 inches) below the surrounding grade. The bottom should be flat, not bowl-shaped, to ensure water spreads evenly. Sides should slope gently at roughly a 3:1 ratio to prevent erosion and allow easy mowing along the edges.
Do not refill the basin with your native soil. A rain garden needs an engineered growing medium that balances rapid drainage with enough organic content to support plant growth and filter pollutants. The standard bioretention mix is:
- 60 percent coarse sand (washed, sharp sand)
- 20 percent compost (well-aged, screened to 12 mm / half an inch)
- 20 percent topsoil (loamy, free of clay clods)
Fill the basin to within 15 to 20 cm (6 to 8 inches) of the surrounding grade, leaving the designed ponding depth above the soil surface. On heavy clay sites, install a 10 cm (4-inch) perforated PVC pipe at the base, bedded in washed gravel, as an underdrain for extreme events.
Rain Garden Plant Zones
The defining feature of rain garden planting is the gradient from wet to dry. Water collects deepest in the center, shallower at the margins, and barely at all along the upper rim. This creates three distinct planting zones. Choosing rain garden plants suited to each zone is essential for a planting that thrives long-term.
Zone 1: The Wet Center
Plants here must tolerate both temporary flooding and dry soil between storms. Blue flag iris (Iris versicolor) provides striking early-summer flowers. Swamp milkweed (Asclepias incarnata) draws monarch butterflies with pink flower clusters. Soft rush (Juncus effusus) and tussock sedge (Carex stricta) offer year-round structure and excellent sediment filtration. Joe-Pye weed (Eutrochium purpureum) adds tall, mauve-pink domes that butterflies love in late summer.
Zone 2: The Transition Slope
The mid-slope receives moderate, short-duration flooding but drains within hours. New England aster (Symphyotrichum novae-angliae) brings masses of purple-pink flowers in autumn. Switchgrass (Panicum virgatum) provides airy seedheads and superb winter structure. Black-eyed Susan (Rudbeckia hirta) delivers golden flowers from midsummer into fall. Cardinal flower (Lobelia cardinalis) offers intense red spikes that hummingbirds find irresistible.
Zone 3: The Dry Upper Edge
The rim receives little or no standing water -- conditions similar to a well-drained border. Little bluestem (Schizachyrium scoparium) turns copper-red in autumn. Purple coneflower (Echinacea purpurea) is drought-tolerant and long-blooming. Butterfly weed (Asclepias tuberosa) demands sharp drainage and rewards it with vivid orange flowers. Prairie dropseed (Sporobolus heterolepis) adds fine texture and a sweet autumn fragrance.
A rain garden planted with this three-zone approach looks like a lush, layered perennial garden rather than a drainage feature. For more on designing with native species that thrive in these conditions, our guide to native plant garden design covers plant sourcing and seasonal planning that apply directly to rain garden planting.
Overflow and Inlet Design
Even a well-sized rain garden will occasionally receive more water than it can absorb. Planning for overflow is not optional -- it is a core part of the design.
Establish a defined overflow point at the maximum ponding depth: a low spot in the rim, reinforced with stone or a short rigid pipe, that routes excess water safely away from the garden and any structures. Direct it toward a lawn area, a secondary rain garden, a dry creek bed, or the street storm drain. Stabilize the overflow path with river stone or cobble to prevent erosion.
Where water enters the rain garden from a downspout or swale, protect the soil from scour with a small apron of river rock. This dissipates the energy of concentrated inflow and prevents channels from forming in the planting area. On sloping sites, build a low earthen berm on the downhill edge from compacted subsoil, 20 to 25 cm (8 to 10 inches) high, and plant it with deep-rooted grasses to stabilize against erosion.
Rain Garden Maintenance
Maintenance is modest once established, but the first year needs attention. Water new rain garden plants during dry spells until their roots penetrate the bioretention mix. Mulch the surface with 5 to 8 cm (2 to 3 inches) of shredded hardwood bark -- avoid fine mulch or straw that floats away in rain.
Once established, a rain garden needs surprisingly little care:
- Spring cleanup: Cut back dead stems in late March or April, leaving them through winter for beneficial insect habitat.
- Weeding: Two to three sessions per growing season. Dense plantings suppress most weeds naturally.
- Sediment removal: Scrape accumulated sediment from the inlet area as needed to maintain ponding depth.
- Storm inspection: Check that the overflow functions, the inlet is clear, and no erosion is developing.
Do not fertilize a rain garden. Incoming stormwater provides more than enough nutrients, and added fertilizer would reduce the garden's pollutant-removal effectiveness.
Combining Beauty with Function
The layered structure of wet, transition, and dry plantings creates depth and complexity that rivals any carefully designed perennial border. From the first iris blades in spring to the copper seedheads of little bluestem in December, a mature rain garden offers twelve months of visual interest.
Design choices amplify the beauty. A curving edge draws the eye. River stones at the inlet suggest a natural stream course. A single ornamental tree -- river birch (Betula nigra) or serviceberry (Amelanchier spp.) -- planted on the dry edge provides vertical structure and dappled shade.
Rain gardens combine naturally with other garden styles. A woodland edge planting transitions seamlessly into a rain garden at its lowest point: the shade-loving ferns and astilbes of a woodland garden give way to sun-loving sedges and iris in the open basin. For a broader look at how sustainable design principles shape entire gardens, our complete guide to garden design styles explores approaches from formal to naturalistic, any of which can integrate rain gardens as a functional and beautiful element.
The Broader Benefits
Flood reduction. A neighborhood in which even a fraction of properties incorporate rain gardens measurably reduces peak stormwater flows, lowering the risk of localized flooding and sewer overflows.
Water quality. Bioretention soil and plant root systems remove nitrogen, phosphorus, heavy metals, and hydrocarbons. Studies consistently show pollutant removal rates of 70 to 90 percent.
Wildlife habitat. The wet-dry mosaic supports amphibians, dragonflies, butterflies, and birds. A rain garden in an otherwise paved neighborhood functions as a vital stepping stone for wildlife.
Groundwater recharge. Infiltrating stormwater on-site rather than routing it to a river replenishes local aquifers -- increasingly valuable in regions facing water scarcity.
Getting Started
Start by watching the water. Walk your garden during the next heavy rain and note where runoff collects. Perform a percolation test at the most promising low point. Measure the impervious area draining toward it and sketch out a rain garden proportioned to handle that flow. Choose your plants for each zone, favoring native species adapted to your region. Then dig, amend, plant, and mulch.
Within a single growing season, you will have a garden feature that captures stormwater, cleans it, recharges the ground beneath your feet, and offers a planting display that shifts and deepens with every passing month. That is a remarkable return from a shallow depression and a few dozen well-chosen plants.
Garden Design Team
Expert garden designers sharing tips, inspiration, and practical advice for creating beautiful outdoor spaces.
Explore professional garden design
Scapiera is a paid professional garden-design application. See plans for included capabilities and availability.
Join the waitlistRelated articles

Garden Design Styles: The Complete Guide
Explore every major garden design style from cottage to Japanese, modern to Mediterranean. Find the perfect style for your space, climate, and taste.
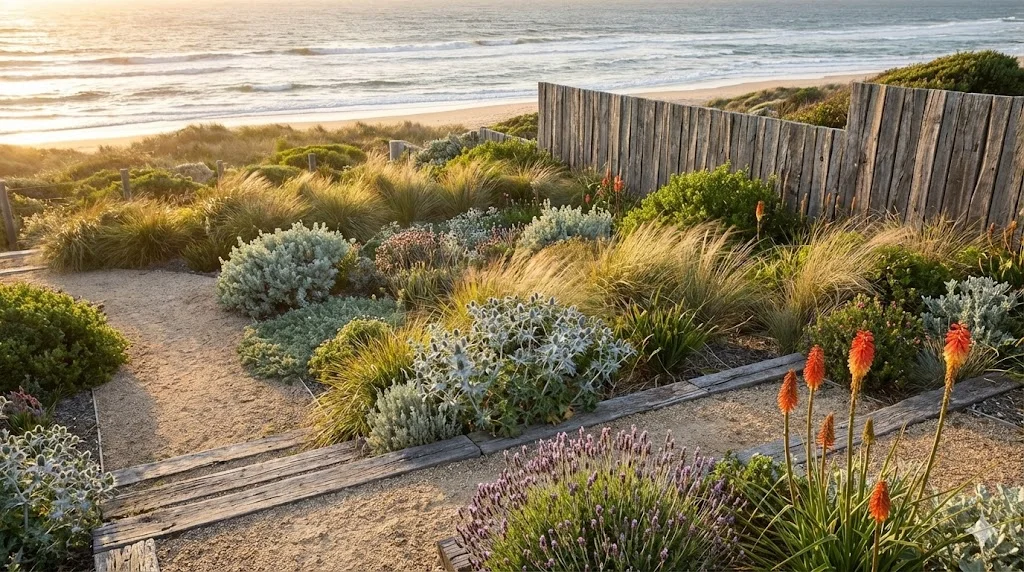
Coastal Garden Design: Salt-Tolerant Beauty
Design a beautiful coastal garden that thrives in salt spray, wind, and sandy soil. Discover the best seaside garden plants and design techniques for exposed sites.
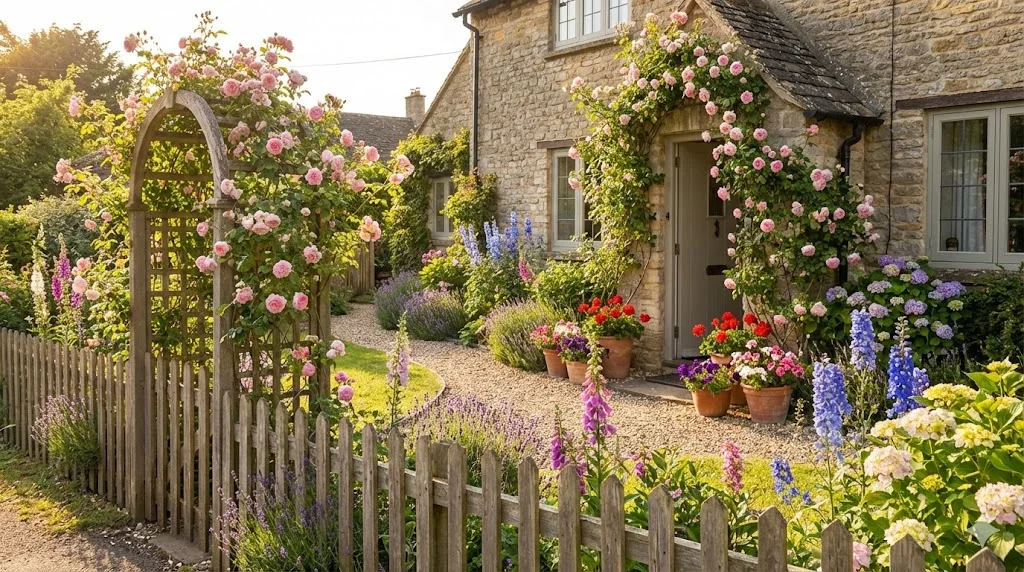
Cottage-Style Front Garden: Welcoming and Colorful
Transform your front garden into a welcoming cottage paradise with climbing roses, flower-lined paths, and seasonal color. Design tips for maximum curb appeal.